Wild food foraging walks, talks and mentoring, herbal medicine workshops and deep nature connection experiences, regenerative wellbeing practises, fermentation, qi gong, working with communities, restoring resillience and empowerment
It took me a while to acknowledge or conceed how important, joy bringing, adaptable and worthy of a recipe post my version of this well known and much loved condiment is! I bring it on pretty much all of my events as I want people to experience both deliciousness and how easy it is to come up with wonderful twists on familiar foods. Enjoy but be warned you may like I become hooked on hummus!
Ingredients:
Play with the quantities and use this as a starting point…
Chick peas, butter beans or black beans (1 jar/can)
Tahini (1 tbspn)
Olive oil – 30ml
Lemon juice – 20ml
One or two cloves of garlic (roasted or fresh)
Herbs – dried or fresh (or both) – as much as you like. I love using alexanders leaves in the winter, wild garlic leaves in the spring and various mustard leaves and common sorrel in summer and autumn…
miso paste – 1 tbspn
seasoning – to taste (bearing in mind the miso is very salty)
Favourite spices -Hogweed seeds, Smoked paprika, zataar, fennel or cumin seeds, toasted sesame seeds, lovage seeds (These are just some of my favourites)
Method:
Combine all ingredients in a Nutribullet or use a hand-held stick blender. Blend to the consistence you want (I like it quite course normally). Spoon into a container. Now, before enjoying, you can make it look really pretty adorning with edible flowers from three cornered leek, wild garlic, thyme, rosemary and/or many other garden and wild herbs. Dried nettle seeds look good sprinkled on top also. Have fun!
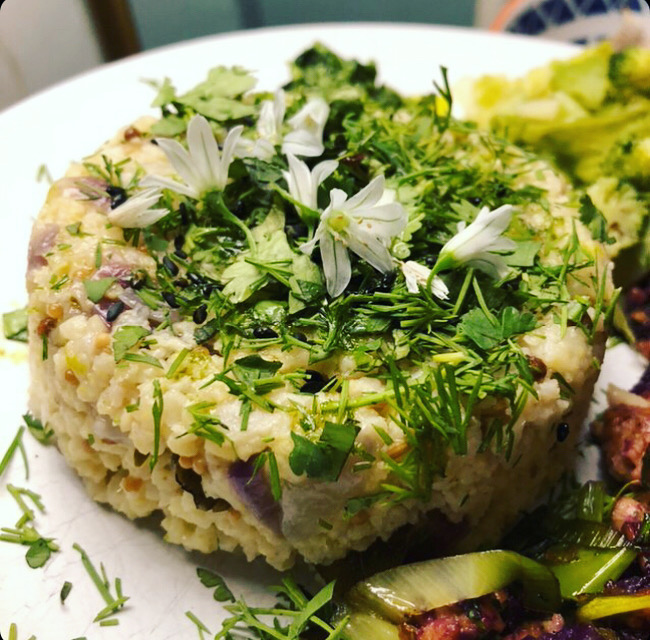
Here’s a delicious way of cooking my new favourite grain–millet. Okay, it’s not really a one minute meal, but still relatively quick and easy to make once you’ve sourced the ingredients. I tend to enjoy it with wild greens and other elements but this is pretty good on it’s own or just with a ferment or some pickled wild garlic flower buds. For the herbs, folded in after cooking, you can use three cornered garlic flowers young alexanders leaves, coriander or whatever seasonal herbs you find in the shops and hedgerows. Wild garlic and crow garlic (wild chives) are certainly both very good for this recipe too. You can use bought or homemade stock and a heavy base pan is best if you have one but not essential.
Ingredients:
Sunflower oil – 1 tablespoon
Millet – 200g
Salt – 1/2 tspn
Bought and wild herbs – A handful
Stock – 1 litre approx
Ginger – one tspn
Mustard seeds (light or dark) – 1 tspn
Coriander seeds – 1 tspn
Cumin seeds – 1 tspn
Curry leaves fresh or dried (optional) – 5/10 leaves
Hogweed seed powder (optional) – 1/4 tspn
Garlic cloves chopped – 2
Red onion cut in slices – 1
Zest of a lime
Method…
First of all I heated sunflower oil in the pan with ginger, cumin seeds, coriander seeds, hogweed seed powder, mustard seeds, curry leaves, garlic and onions. Once the onions were soft I added the washed millet, vegetable stock (to about an inch above level of the millet or perhaps 2/1 stock/millet ratio) and generous pinch of salt. I then brought it to a boil, turned down the heat, placed the lid on the pan and simmered for 15 minutes.
I then turned off the heat and left my pan (with the lid still on) for 20 mins so the millet could absorb the rest of the stock. Then I just folded in the herbs, olive oil and lime zest using a fork. So nice to eat alone or add things too. I had it with some sautéed leaks, marinated tempeh and sweet potatoes… and the first wild garlic pesto!
Note: Millet brands can differ. Some millet needs longer to cook and may require more or less stock. Find one you like and get used to how it behaves. I use Essential brand millet.
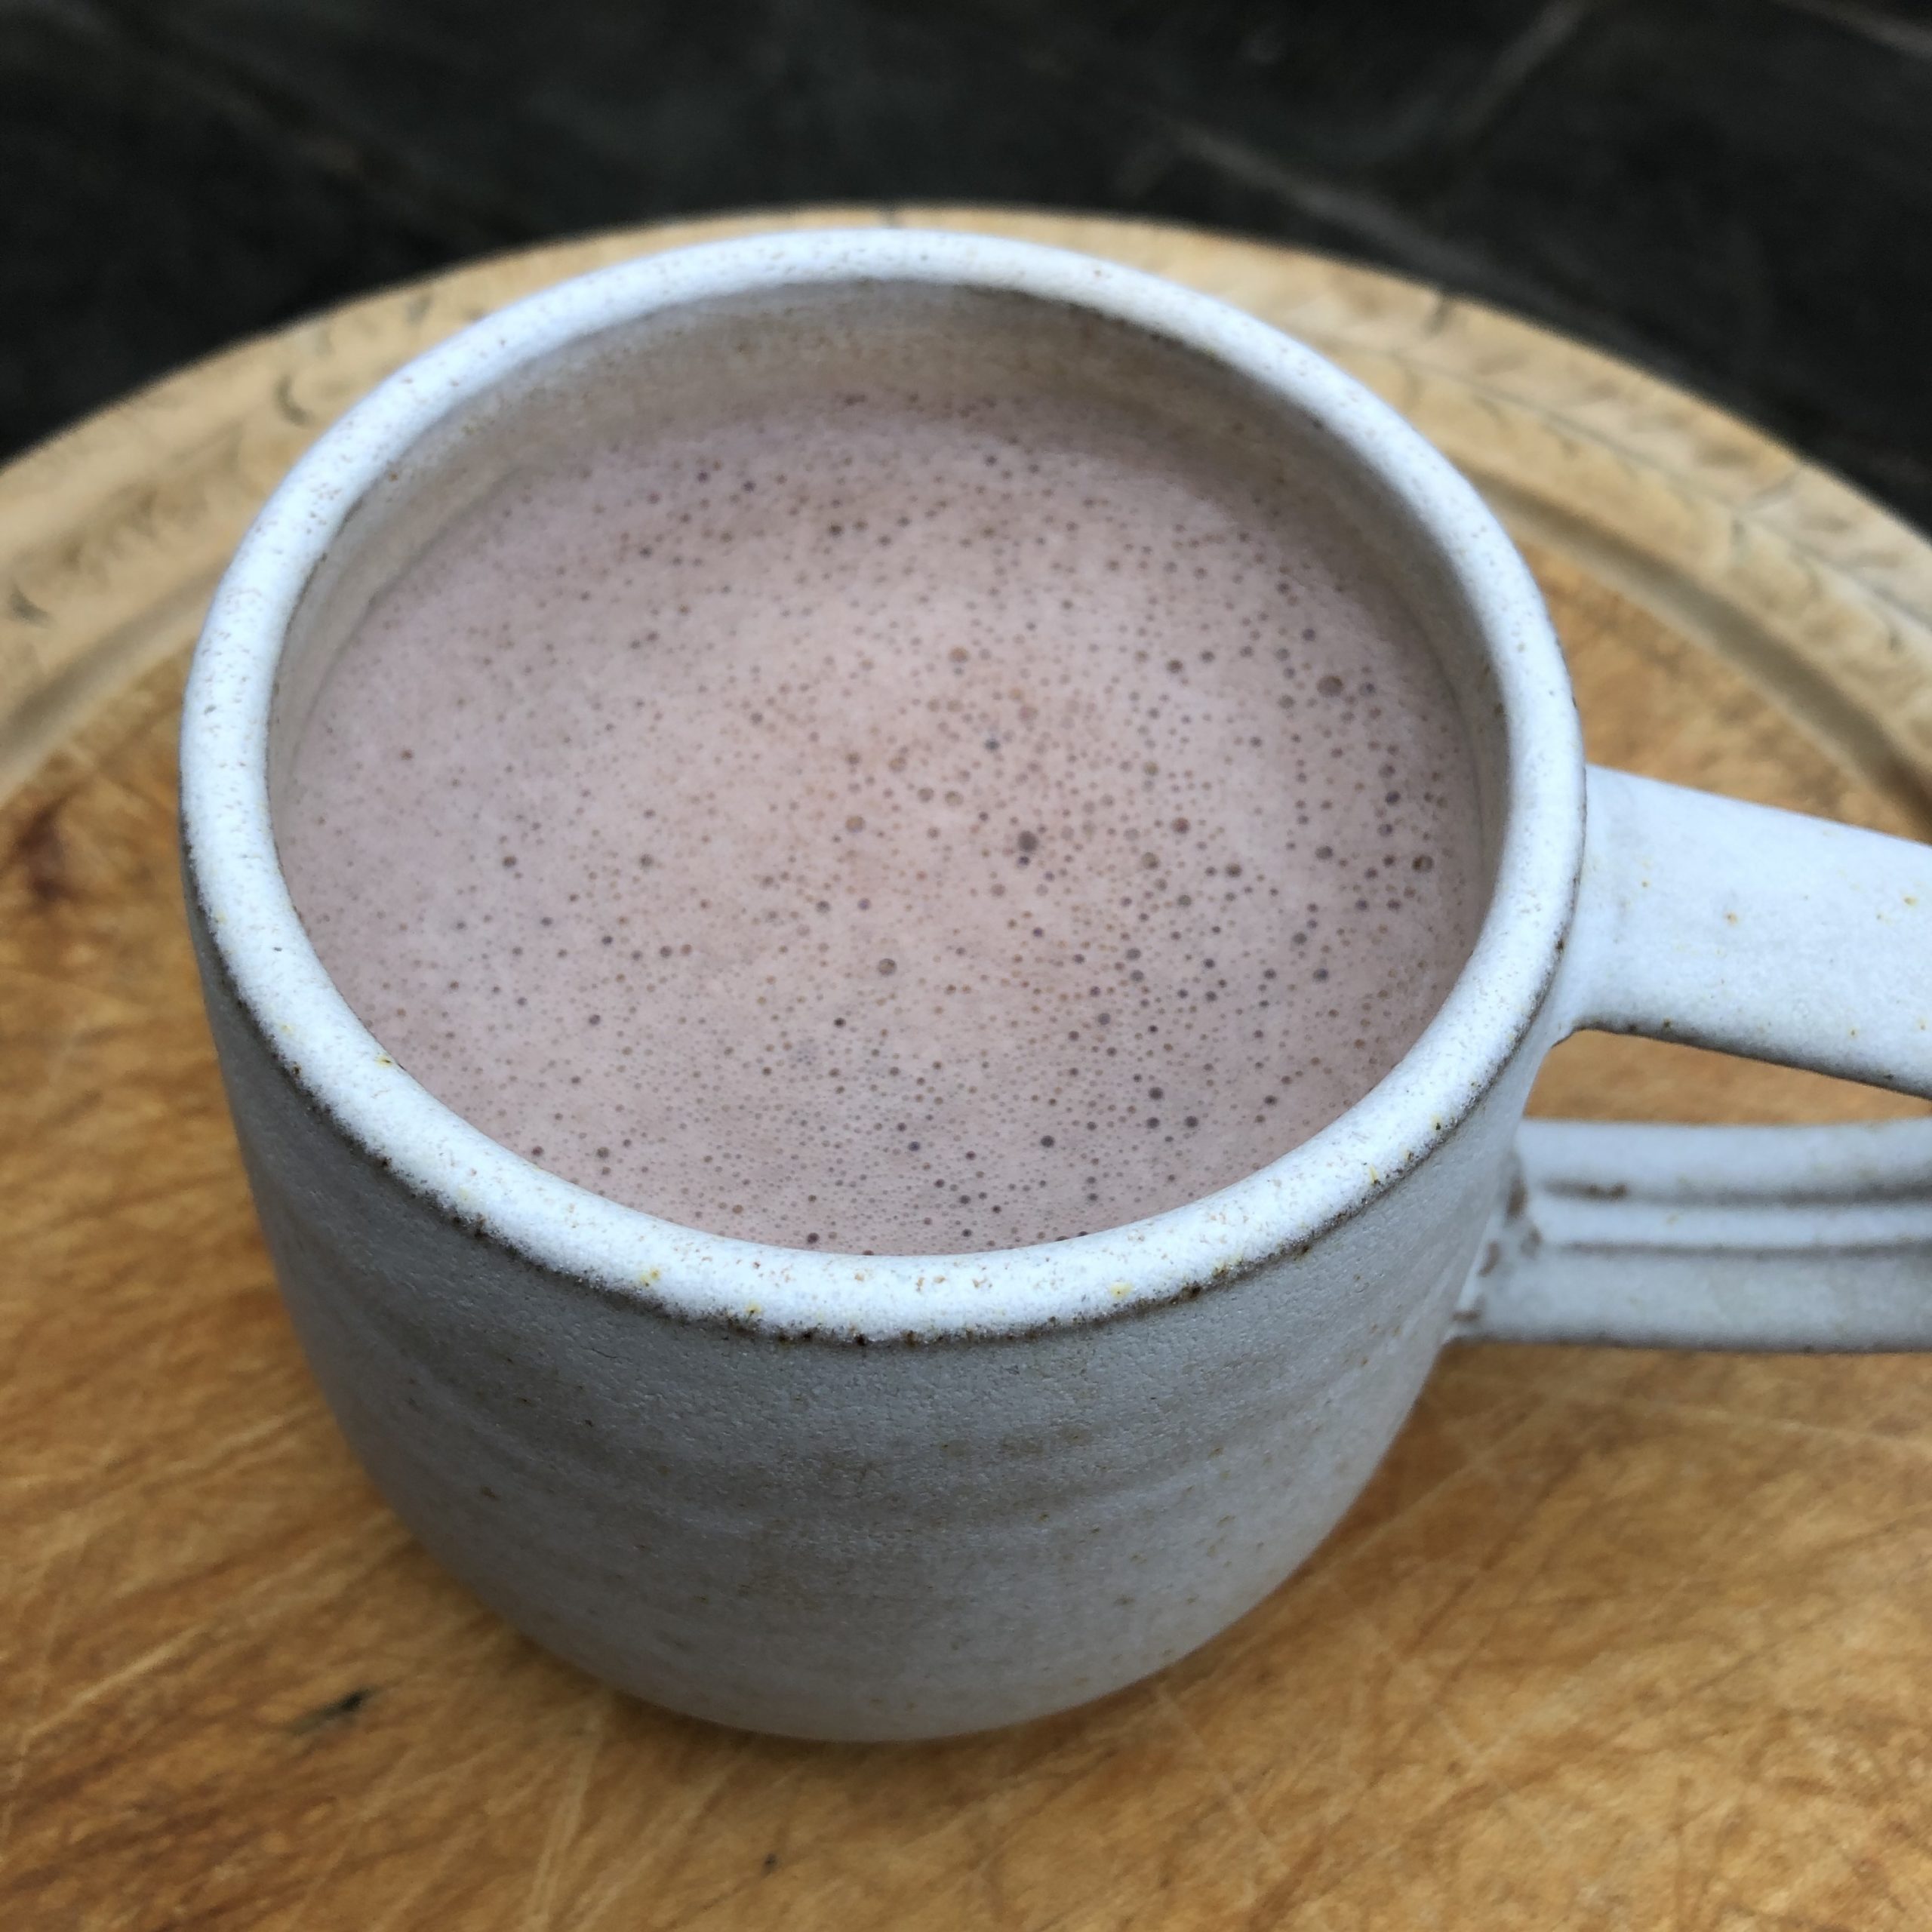
Hot Chaga chocolate is one of my favourite winter warmers!
Chaga is an amazing medicinal mushroom which can help support our immune system. It contains powerful anti-oxidants, and has shown anti-tumor, anti-inflammatory and anti-viral capabilities. It’s also long been used to treat skin conditions and to boost energy levels!
With a bitter, earthy taste Chaga compliments the flavour of chocolate really well. However, I find it’s better with a little sweetener to take the edge off the bitterness.
You can use whatever sweetener you have to hand although lacuma and/or maple syrup work really well. I buy my Chaga as it’s uncommon to find it growing where I live. It can be sourced from good wholefood stores or bought from online suppliers. Foraged turkey tail and / or birch polypore mushrooms are a welcome addition to this recipe too.
You could if you wanted make this drink without the mushroom element. To do so, simply add rose petal brandy to the hot chocolate drink, as described below. This rosey addition alone makes for a pretty incredible mug of hot chocolate and takes less time.
You can keep any spare mushroom water decoction for several days, adding it to cooking as you might a vegetable stock. It can be re-heated too and enjoyed as mushroom tea with some sweetener (I love taking this in my flask on most winter walks).
Chaga chocolate recipe:
Chaga powder (available from good whole food stores) – 1 tbspn (or 2 if not using other mushrooms) Foraged turkey tail mushrooms / birch polypore mushrooms (optional) – 1 tbspn Lacuma powder – 2 tbspns Maple syrup – 1 tbspn Cocoa powder – 3 tbspns Dark orange chocolate – a couple of pieces Milk/plant based milk – 2 cups Water – 1.5 L Rose petal brandy – To taste Hogweed seed powder (optional) 1/4 tspn Allspice powder – 1/4 tspn
Equipment:
1 large saucepan 1 medium sized saucepan 1 coffee grinder or nutribullet A spatula Your favourite mugs!
Method:
Take dried wild or bought rose petals and infuse for a couple of weeks in brandy. (for this I stuff as many petals as possible in a small jar then top up with brandy). After infusing you can strain removing the petals if you choose but I often don’t do this and it’s okay.
Alternatively you could make a sugar syrup by dissolving lots of sugar into very hot water and infuse petals into this for around 6-8 hours. You can then use this sugar syrup infusion instead of the sweeteners in the recipe and get a hint of rose into the drink this way.
Blitz any mushrooms pieces, turning them to powder. Blitz hogweed seeds separately.
Combine mushroom powders in a large saucepan (or a slow cooker) adding 1.5 L water. Simmer for 1-2 hours. 2 hours is better if possible, as you will release even more of the health benefitting, immunomodulating compounds.
Heat the other saucepan, melting the chocolate pieces. Once melted, add the milk, a little at a time, stirring.
Add around 2 mugs of mushroom water decoction.
Add your cocoa powder, lacuma, allspice and hogweed seed powders. Stir to mix ingredients.
Gently heat for five or ten minutes
Adjust cocoa powder and sweeteners to taste.
Pour into mugs. Add rose petal brandy sparingly. Enjoy with a friend or two. They will love you for this!
Next level version, not necessary, but for getting maximum medicinal benefits
To gain the maximum benefit from the medicinal mushrooms you need to do what’s called a double extraction. You really don’t have to but it’s quite easy. It’s just a little more involved. Whilst many beneficial compounds are water soluble some can only be released through alcohol extraction.
Here’s how you can do it:
Take a bottle, filling to about 1/3 full with mushroom powders, top up with rose petal brandy. Allow some head room for possible slight expansion of dried mushroom powder (this is probably more likely to be an issue if using chunks of dried mushrooms).
Store in a dark bottle in a cool place, away from sunlight. Shake every day or so. After two weeks, strain through a muslin, keeping the brandy tincture.
At the end of making your chocolate drink, add this rose petal and mushroom tincture to your chocolate drink to taste. *Normally for a dose of full spectrum mushroom extract you would want the same volume of water extraction to alcohol extraction. But here we’re just focusing on making a deliciously nourishing drink, rather than on how to get our daily dose of medicine.
Note: You can if you wish make a further water decoction, (using the mushroom powder strained from your brandy) simmering this in water for a couple of hours, as before, possibly with some more fresh mushroom powder…This is a way of getting the most from your mushroom powder(s).
Honey for slaw 100ml plus some more for the fermented mustard
Lemon juice 200ml
Olive oil 200ml
Salt 20g
Cider vinegar
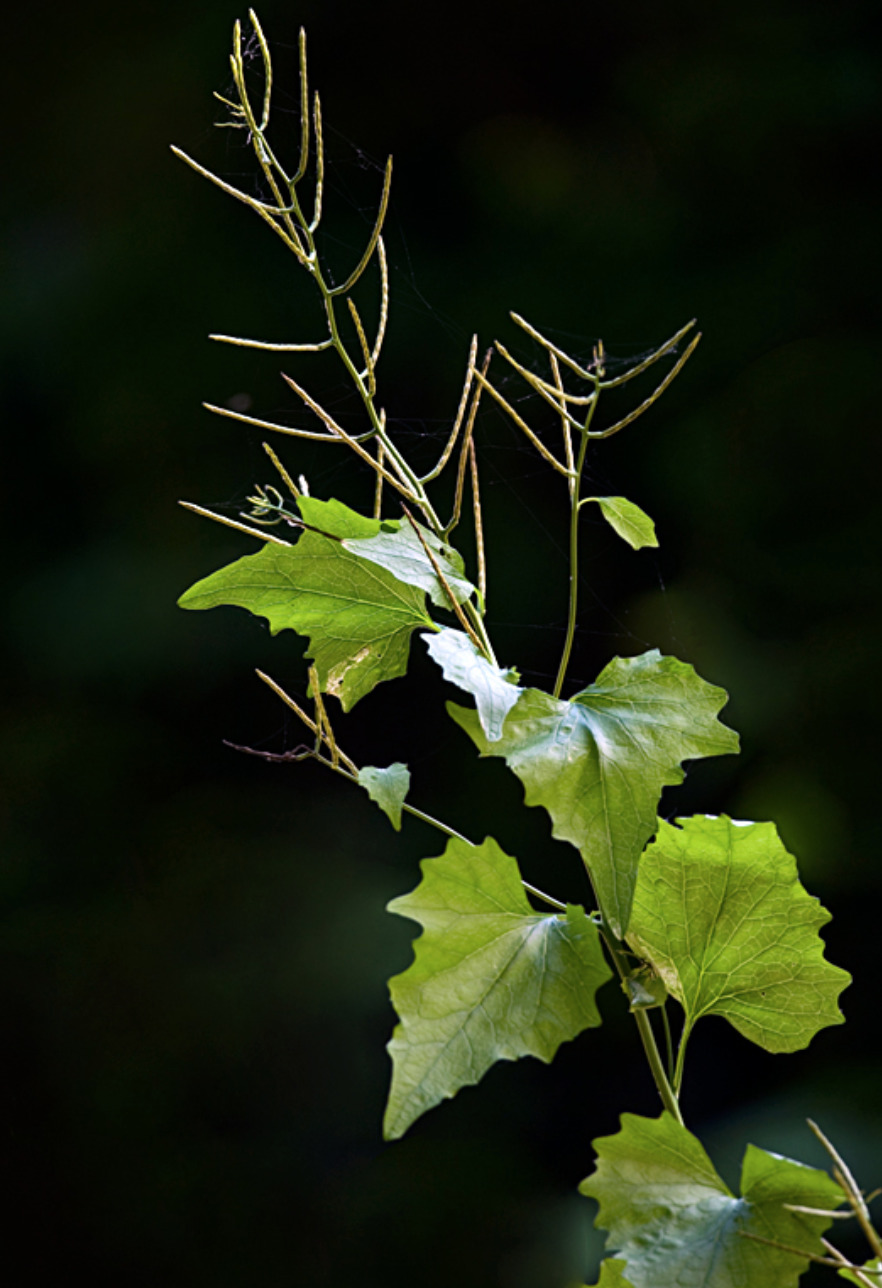
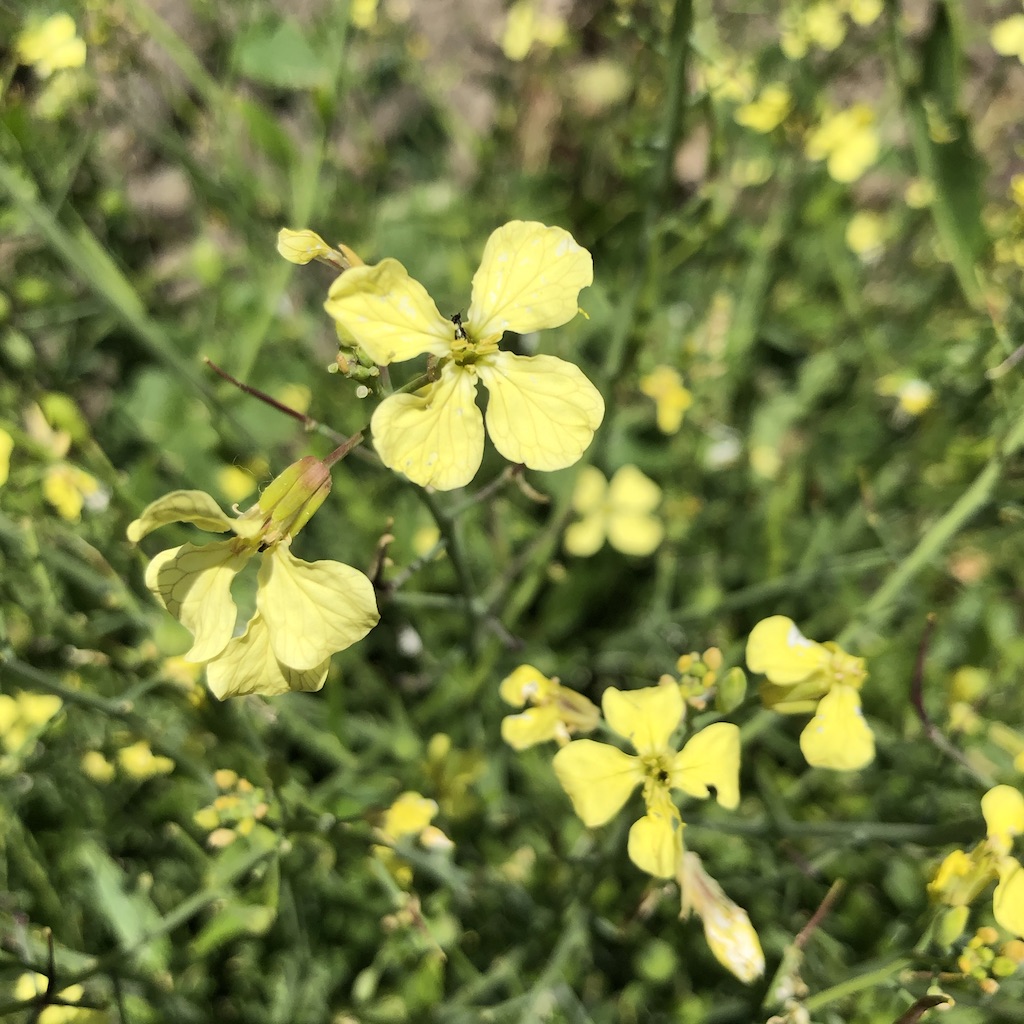
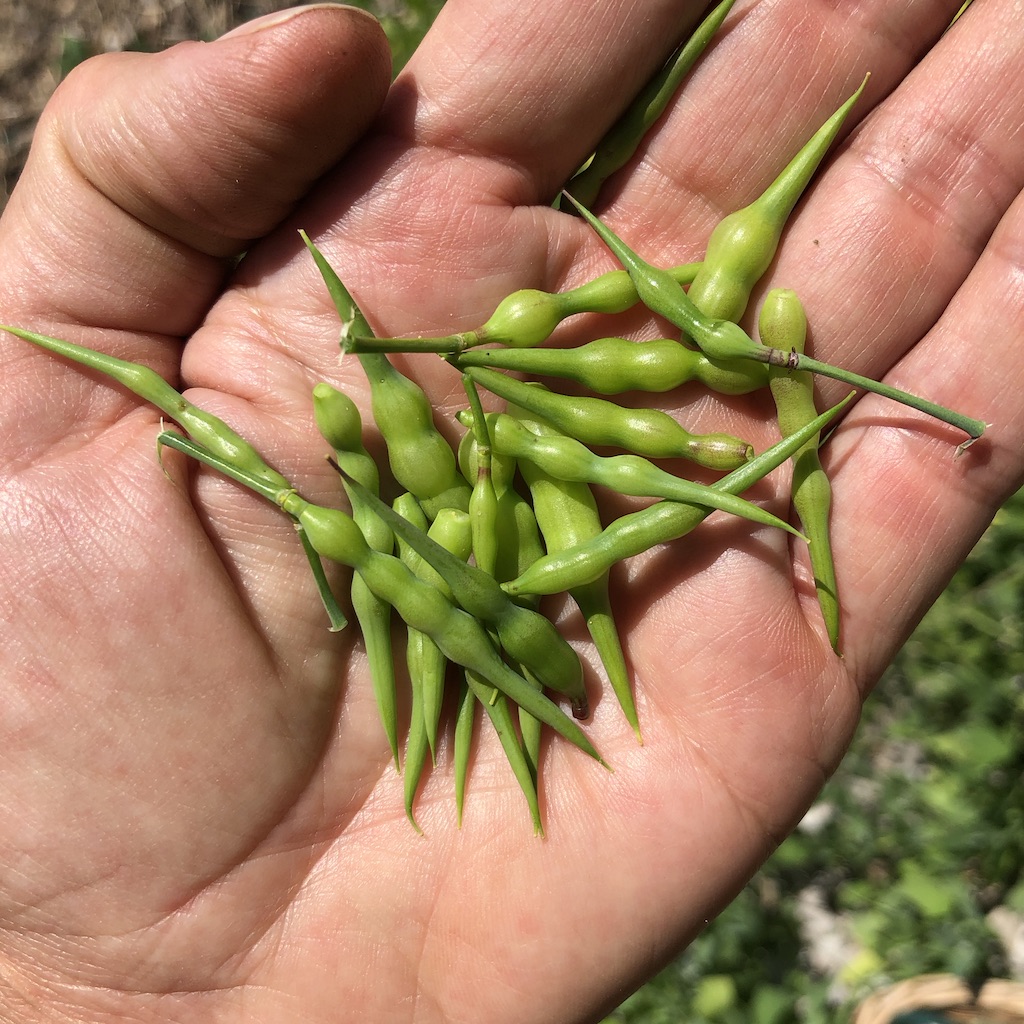
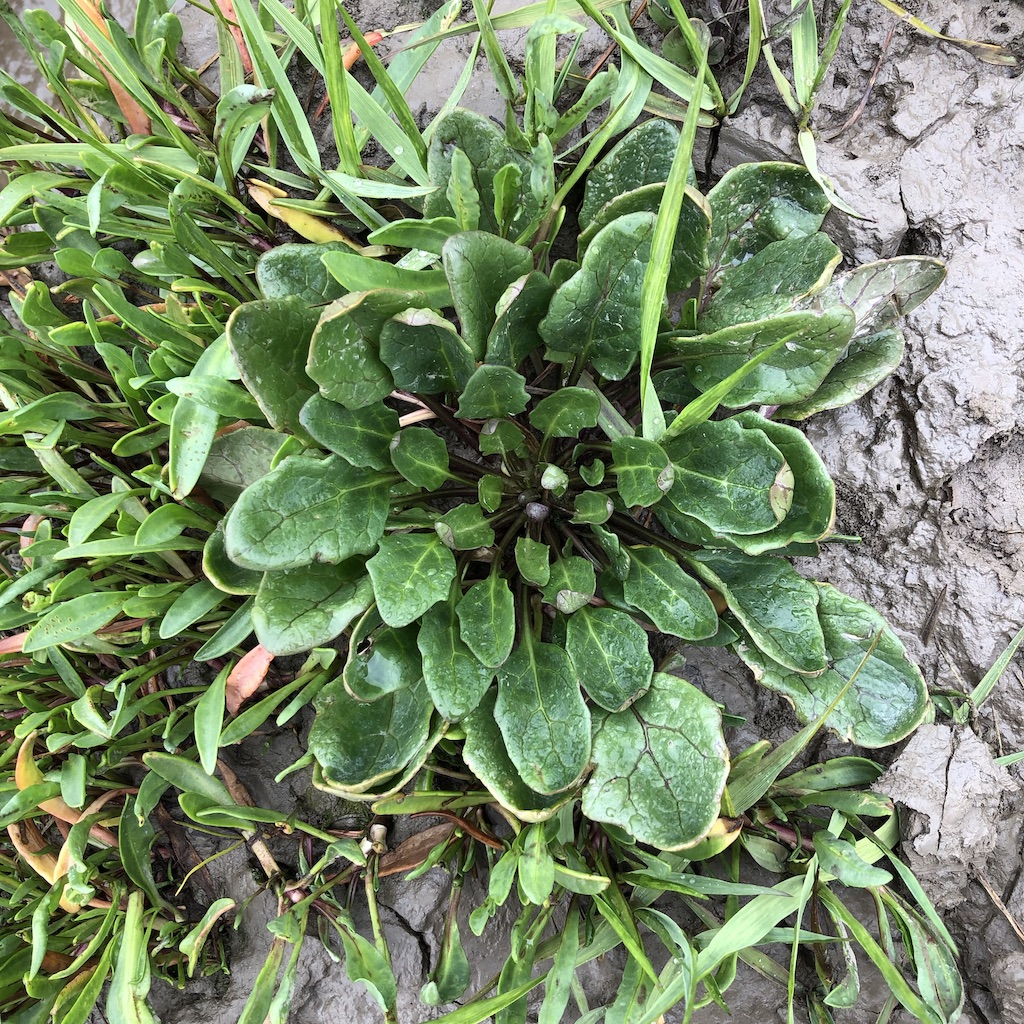
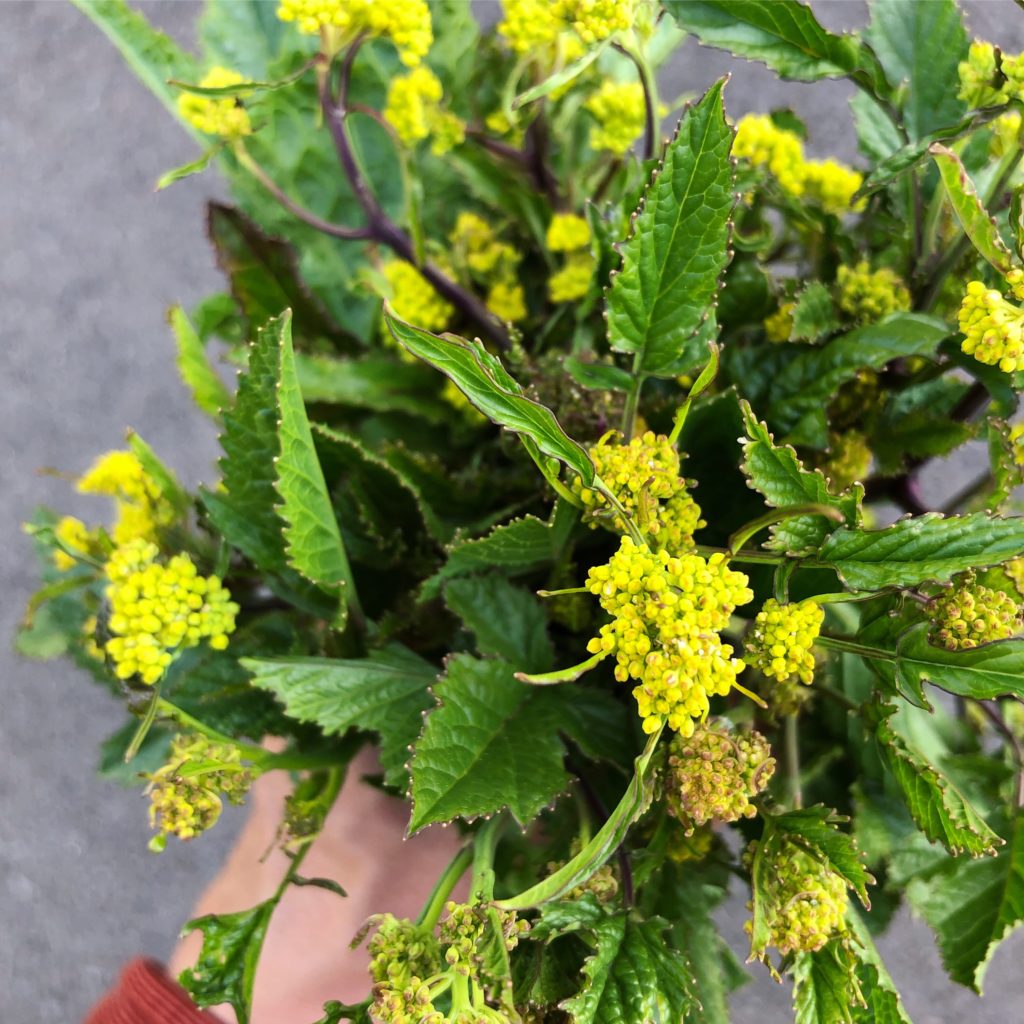
This is my favourite summer slaw with Kohlrabi and sea radish seed pods. Sea radish pods are most easily harvested in may or early June when more of them are tender and good to eat. However with patience perfect pods can be picked in July and August. You’ll find many have gone tough inside and so are no good. Some however will be just right, with a little bit of give when you squeeze them and still green throughout. You don’t need lots for a small batch of slaw. Sea radish grows at the top of the beach and is quite common, look for yellow, four petal (or cross-shaped) flowers on 3-4ft tall plants. Scurvy grass grows mainly in amongst other plants on salt marshes (tidal inlets/estuaries).
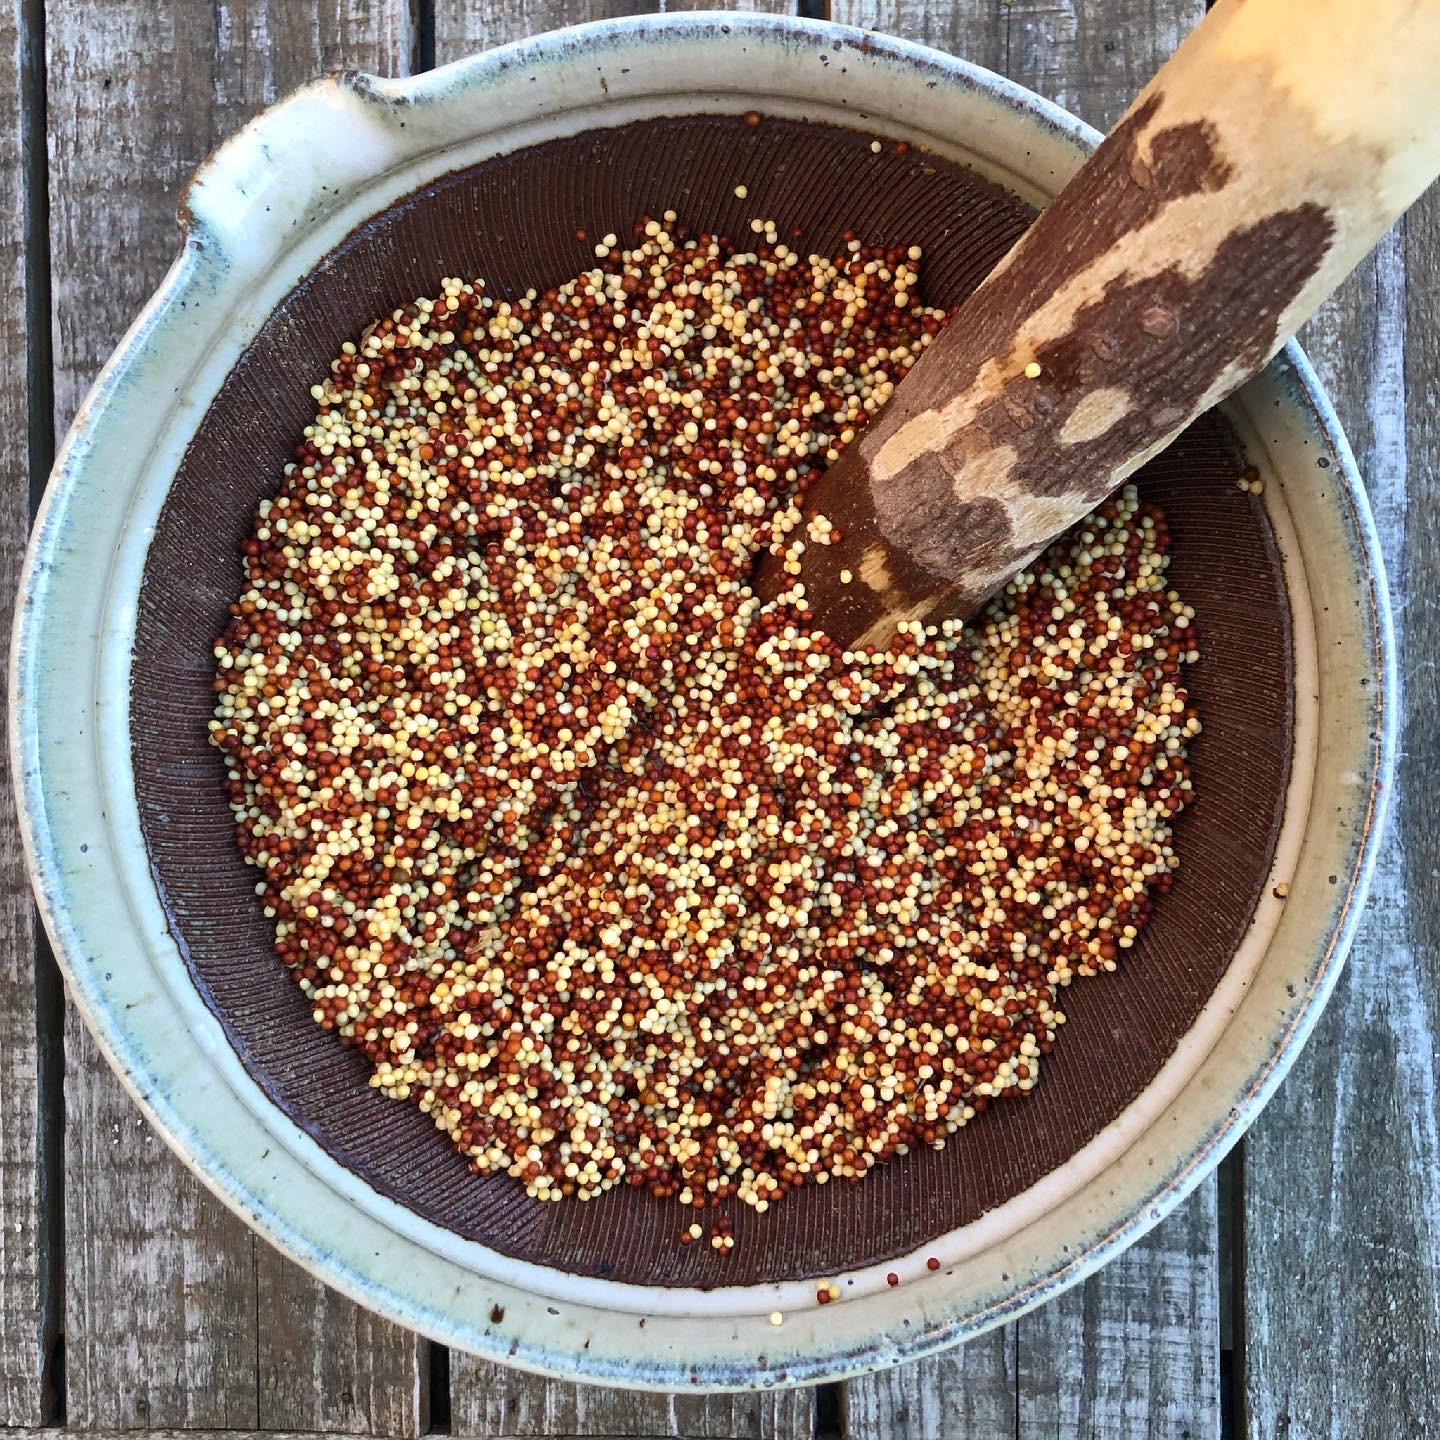
To make this tasty treat, the perfect accompaniment to any summer picnic, I fermented wholegrain mustard (and some de-husked wasabi flavoured garlic mustard seeds) in approximately 2% salt brine for a few days. To make the brine, dissolve salt in filtered tap water in a jar. You then simply add your mustard seeds to the jar, stirring to encourage lots of the seeds to sink. Keep the jar covered in some way to prevent anything getting in. I then strained the liquid off (don’t be alarmed if it smells somewhat unpleasant, it’s really okay!) and popped my seeds in a pestle and mortar. Then comes the fun bit. Add some spoonfuls of honey and a few glugs of cider vinegar then crush the seeds as much as you desire. I leave lots of seeds whole as that’s just how I prefer it. Next, taste your mustard and add more honey and/or cider vinegar as desired. I then reserve some mustard for my slaw, popping the rest in a jar for general day to day enjoyment. It’s also fantastic in potato salads, salad dressings, sandwiches and burgers!
To make the slaw…
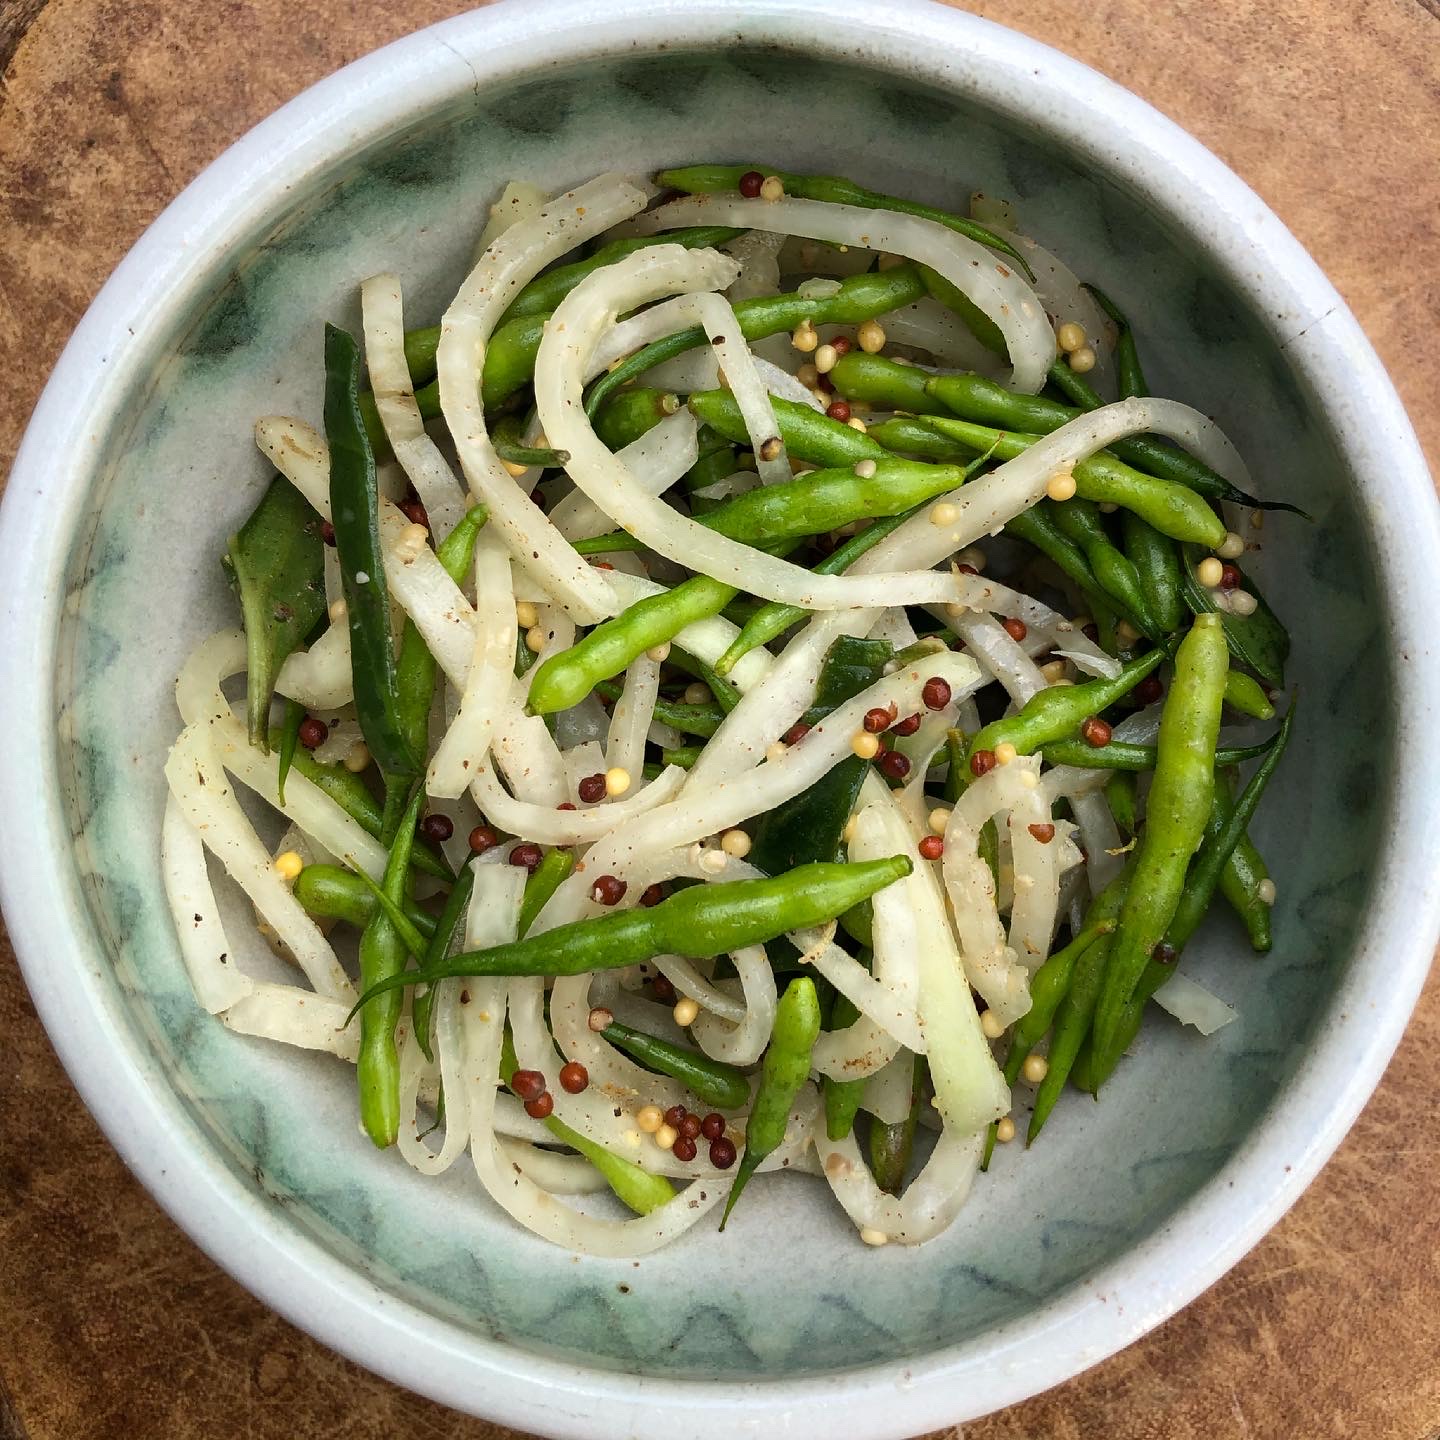
Peal and chop the kohlrabi into matchsticks, adding to a mixing bowl with sea radish seeds and some chopped scurvy grass leaves (if you have some). Next, blend the remaining ingredients then add to the mixing bowl, along with some fermented mustard seeds. You can add more or less seeds according to taste. This slaw keeps for days in the fridge. I often pre-make my fermented mustard as well as lemon, honey, oil mix so when I make my slaw it’s quick and easy. I hope you enjoy this recipe.
Garlic mustard seed podsSea radish flowersSea radish seed podsMustard seeds after fermentation, ready to add honey and cider vinegarScurvy grassKohlrabi slaw
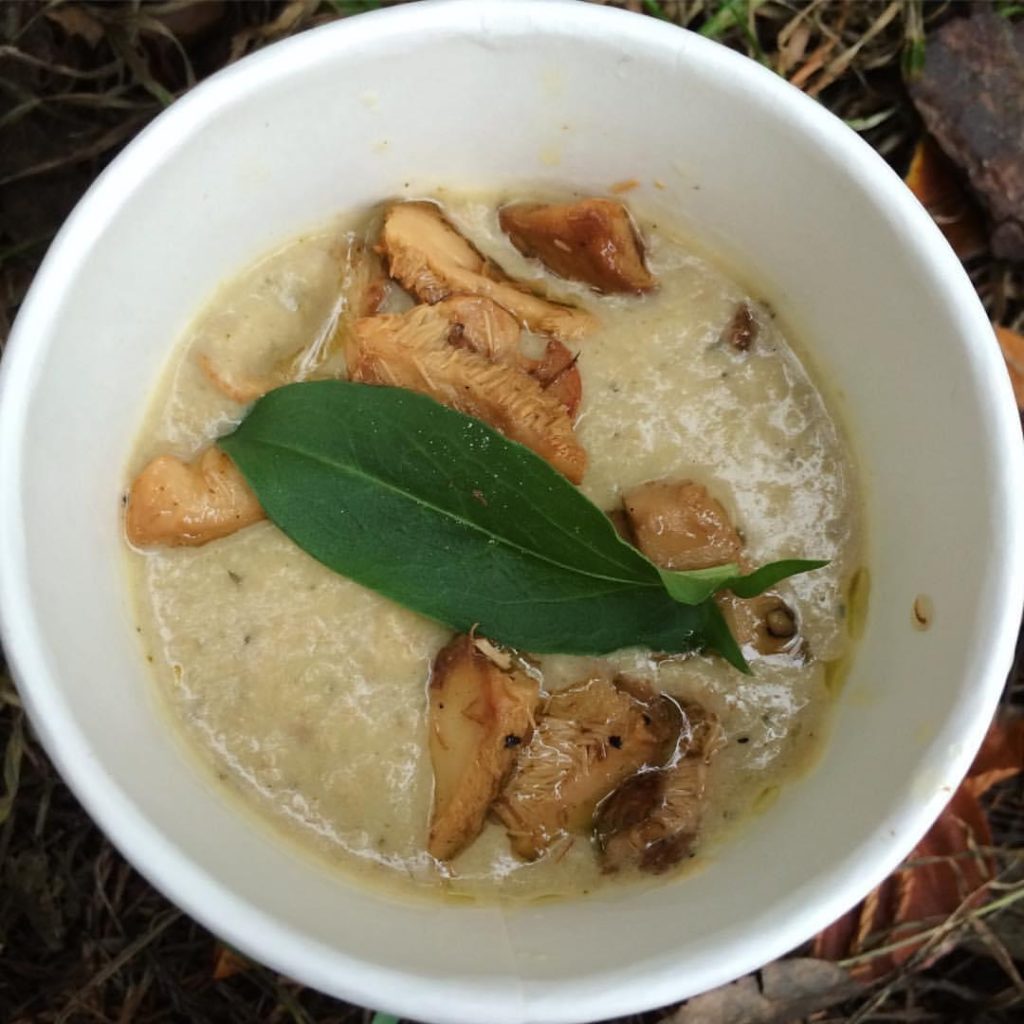
It’s so worth making your own stocks. You get all that goodness plus a wonderful depth of flavour. It feels like such a natural thing for a forager to do too. We tend to collect and dry so many wild spices, mushrooms, roots, sea vegetables etc. This is an excuse to play. It’s very quick and easy to do and you can freeze any spare stock you make or keep in the fridge for use over the following days. It’s definitely best to use the freshest organic or foraged ingredients for stock rather than sorry looking bits and pieces otherwise destined for the compost heap. Yours could be a lot simpler than the one I’ve described. Root vegetables are great (one or two is fine), seaweed (if you have), dried mushrooms, a few garlic cloves, leek trimmings, an onion, a stick of celery, optional spices. That would do it. I hope this inspires you to make some of your own semi-wild soups because I know you’ll enjoy it!
Suggested ingredients;
Alexanders shoots, seeds, fennel seeds, star anise, a cinnamon stick, wild fennel, parsnip, carrot, leek, onion, garlic, burdock root (bought or foraged), squash, hawthorn haws (from the freezer), dried ceps and seaweeds. I often use a mixture of bought and wild seaweeds combined with mushrooms – They each possess their own beneficial nutrients and umami flavours that together work wonders in many dishes, not only soups and stews.
You can use any or all of these ingredients or for a very simple Japanese dashi style stock: Pour hot water into a jug or pan and add seaweed and a few dried mushrooms. Leave for half an hour then use.
My usual way of making stock is as follows:
Roughly chop vegetables, using diagonal cuts to release more of the sweetness. Add to a large stock pot, cover with water and bring to a near boil. Turn down the heat to the lowest setting and leave for thirty minutes. The water only needs to be steaming, as opposed to simmering, but definitely not boiling. Once your stock is made, strain and discard the vegetables (it’s not a waste, as the nutrients and flavours are in your delicious stock). Once cooled, spare stock can be kept in the fridge and used over the coming days. I usually freeze a batch or two as well.
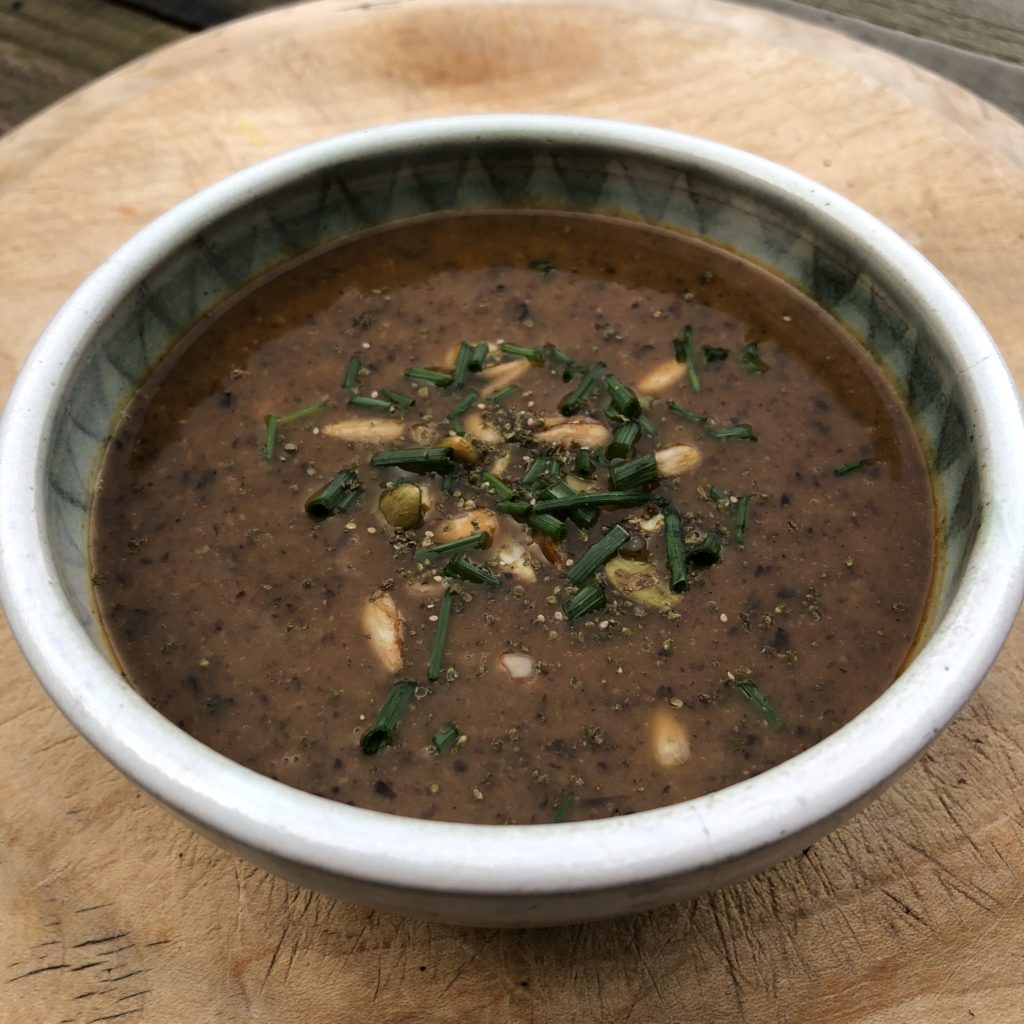
This is a hearty soup I have fond memories of sharing with friends on winter foraging walks. However it’s too good not to make throughout the year, perhaps on days like today when the weather is cooler and sun has gone elsewhere. It’s a go to recipe for me, one which I absolutely love. So deeply nourishing and unfathomably (unless you happen to have the recipe) delicious. This recipe is a guideline and you can adapt it, to some extent, to the ingredients you have
Ingredients
Black Beans
Carrots
Onions
Alexanders if in season, or celery
Fresh tomato sauce (fresh tomatoes, garlic, onions, alexanders leaves or bulbs (if making in winter/spring) otherwise use celery, tomato paste, thyme, rosemary, parsley, garlic mustard (if making in spring) or thyme or wild marjoram (if summertime).
Soak the beans (if using dried beans) overnight, then cook in a pan or pressure cooker, without adding salt. You can use bought, ready cooked beans if you like. In which case, glass jars of beans are my favourite option. I find the texture can be better and they also may be a healthier option than tinned beans. I’ll leave for you to decide, but health food stores are starting to stock jars of beans more often now.
Sauté the vegetables together with the spices and salt
Stew with a lid on the pan, on a low heat until vegetables have started to soften
Meanwhile make your tomato sauce. In a separate pan, cook on a low heat the celery (or alexanders if you have some) in olive oil, with a pinch of salt. Next add tomatoes and other ingredients. Cook gently, tasting as you go and daydreaming about Italy or how amazing this stew is going to be with so much love going into its creation. I’m crazy about herbs so love to include dried and if possible fresh herbs, to sauces in generous quantities.
Add the prepared tomato sauce (you could certainly use tinned tomatoes for a quicker version and it will still taste really good)
Cook for a few minutes more
Add the beans and top up with their cooking liquids or stock
Cook for around half and hour
In the final minutes of cooking, add the juice of an orange, some mirin and tamari. Cook for a few minutes more then taste
You can then, if you wish, ladle some stew into a bowl, stir in a little dark miso then reintroduce this to the pan. This is optional but can add another depth of flavour as well as all that wonderful goodness that miso offers. Adding miso towards the end of cooking means you don’t destroy the beneficial micro-organisms in this alive, fermented food!
Fire cider is the easiest thing in the world to make and there are countless variations. With the probiotic goodness of unpasteurised cider vinegar, (a flu and cold-busting remedy in it’s own right), plus added wild and organic ingredients, this is hedgerow medicine at it’s best. I use a teaspoon in warm water first thing in the morning, particularly when I’m trying to avoid the winter bugs. It’s particularly useful towards the end of winter when we are needing a bit of a boost to help through that final month or so. Here’s a straightforward recipe to which you could add other things as you desire and depending on the time of year (it can be nice to use wild garlic bulbs and seeds for example if making in spring).
Ingredients
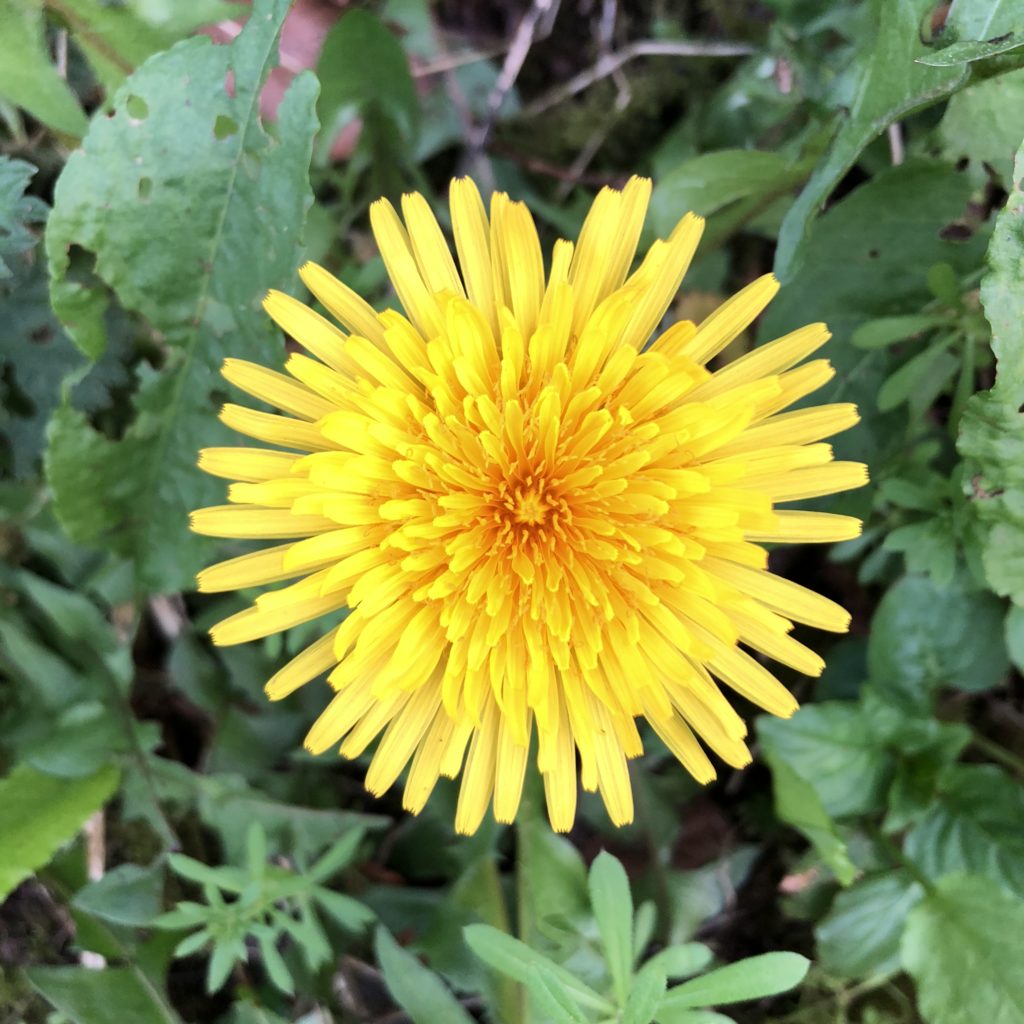
Dandelion root
Dock root
Horseradish root
Turmeric root
Garlic cloves
Ginger
Chillis
Apple cider vinegar
Method
Wash and chop up your foraged and bought ingredients, in whatever quantities you decide – I usually fill a large jar to impart the maximum goodness into my vinegar. Next, simply top up with cider vinegar, leaving to infuse for at least a month. After this, strain and keep the vinegar, discard herbs and pour vinegar into an attractive bottle. Label this in your best writing, possibly with some unusual spelling.
From this concoction you can, if you wish, make an oxymel. To do this, simply add honey to your fire cider and stir to mix ingredients. I go with the ratio 50:50 honey to fire cider.
Note: Cork or plastic lids can be better as the vinegar will corrode metal.
Wild garlic pesto is a classic forager’s favourite. At the time of writing (early May) the leaves are starting to look a bit tired as the plant puts it’s energy into the those beautiful, star shaped flowers. Mustard leaves however are plentiful through May and June and make great pestos with a firey kick. Look for black mustard (pictured below) leaves in allotments and coastal locations. You can add wild or shop bought fermented mustard seeds to your pestos – Jack by the hedge (a type of super common wild mustard) seeds are the easiest to harvest. I just wait until June when the seeds have dried and turned black in their elongated pods. The simplest way to harvest is to place a bag over the top of the plant and shake the plant to release seeds into your bag.
Mustard Seed Fermenting Method:
140 g yellow mustard seeds
140g brown mustard seeds
420ml filtered water
50g apple cider vinegar
1 teaspoon of honey
13g sea salt
Make a brine by adding sea salt to mineral water.
Add to your brine mustard seeds, a dash of apple cider vinegar, and a little honey. You can add a little sauerkraut juice to help start the fermentation process. This is optional and it will likely be okay without it.
place mixture in a jar. Leave out at room temperature for 3-4 days, stirring each day.
Strain any excess liquid and enjoy!
Wild Mustard and Dill Pesto:
Combine your wild leaves with nuts of your choice (I love cashews and hazelnuts best), olive oil, salt and lemon juice.
Add cheese if you wish. Hard and flavoursome goat’s cheese, parmesan or pecorino are good choices.
As always, I just add small amounts of everything and taste as I go. Have fun and play with your food!
Try also making pesto with Jack by the hedge, wild garlic (seeds, leaves, stems) and sea radish leaves.
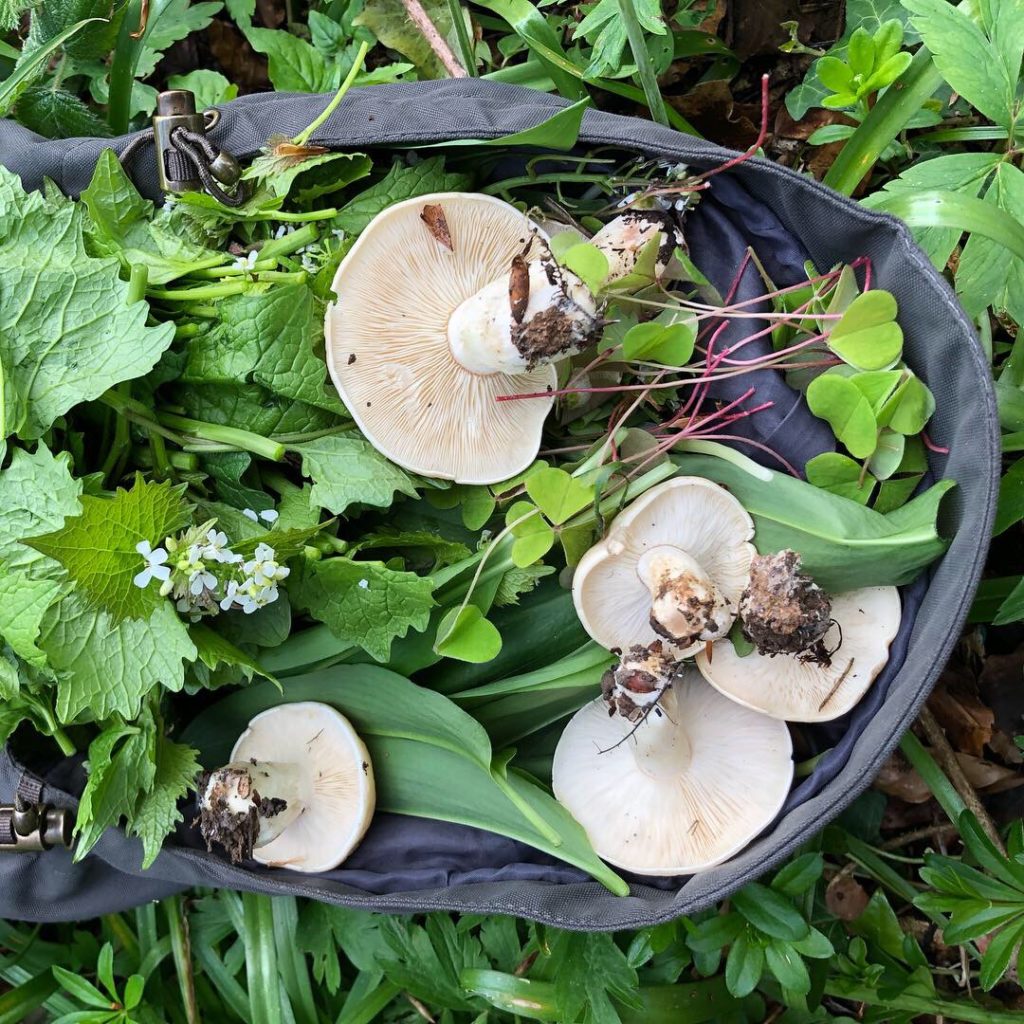
There are those times when I hadn’t planned to forage a single leaf. I’m on my way somewhere else then stop and spend hours exploring a new wonderland, loosing all track of time or purpose. Hours later as the night draws in, I leave the woods, the hood of my coat now an improvised basket full of mushrooms and herbs. For me, such times represent a letting go, moving from busy squirrel mode, with so many thoughts and concerns, to gradually slowing down. I once again remember to listen, allowing myself to be guided by a different compass. I am drawn here and there not having to know. It is the experience, the moment, which is the prize rather than a basket, or improvised hood full, of mushrooms. As I was preparing to leave the woods at the weekend, on just such an evening, I came across a poem by Laurie Lee inscribed on a post. For me it brought the spirit of nature, of every creature, to life. As I read it out loud, over and over, I was sure I could hear the trees listening to me.
Outside
my window there are fresh fox trails in deep snow. It’s surely Winter time
still, and yet there is a sense of rising energy as ideas and visions begin to manifest.
Preparations must be made for the year ahead. Buds are forming on trees and the
birds call forth the season’s change.
The natural
world can appear quite barren at this time. My years of conditioning certainly
had me believe that this is so. As such, on Winter walks I’d cast only a
cursory glance at the carpet of debris beneath me. I’d pass by the skeletal
remains of glorious umbels on stalks towering high above the leaf litter, perhaps
pausing momentarily to admire their beauty. Now to me these hollow structures
serve as messengers whispering the promise of new life and tender young edible
shoots.
Foraging for food, getting to know plants intimately throughout the seasons, has led me to experience the world differently. Looking for, often very subtle clues in nature, I’ve learned to view things on the micro as well as macro scale. Regularly foraging and consuming wild food you can’t help but become more attuned to your environment. This simple act is quite profound in the way it connects us with the earth, giving a sense of being rooted in the place we live.
As I walk my breathing deepens and gradually I come to my senses. Thoughts quieten and my being expands to meet the surrounding landscape. I am drawn this way and that, until finally my feet come to a standstill. I am not sure why but it feels like this is the place to be right now. Then my attention is brought to a plant or mushroom and there’s a sense of magic and aliveness as we meet.
Next
follows a spark of inspiration for some wild food creation – A soup, salad,
herbal infusion, tincture or perhaps a seasonal ferment.
Fermenting
and wild food really go hand in hand. The freshest leaves, shoots and bulbs are
carefully selected and foraged. All this goodness is then not only preserved
but is miraculously transformed by bacteria, fungi and the enzymes they produce
during the fermentation process. Minerals become more bio-available, nutrients
are enhanced and complex, wonderful flavors develop.
Our job
is to set up the right conditions for this transformation to take place. We are
invited to slow down, let go of the desire to be in control and “touch the
process” – To listen to the environment, taste as we go, adding a little of
this and a little of that, a pinch of salt at a time. It’s alchemy and requires
a high degree of presence, of feeling into what is needed in each moment. Fermenting
is more of an art than a series of rules to be followed and every time the set
of circumstances is completely unique.
Over the
coming weeks, nature’s wild offerings may include hairy bitter cress (neither
hairy nor bitter!), alexanders, winter cress, jack by the hedge, wild garlic
shoots, cleavers, black mustard and crow garlic.
A
seasonal Winter kraut.
Several
handfuls of black mustard leaves
One
white cabbage
Two
teaspoons of cumin seeds
Two beetroots
sliced thinly and evenly
Approximately
one tablespoon of sea salt
A winter
meets spring ferment.
A few
handfuls of crunchy wild garlic stems and leaves
One
white cabbage
A small
jar of pink peppercorns in brine
Approximately
one tablespoon of sea salt
Basic kraut method
Wash and chop your
ingredients then place in a large mixing bowl. Add a little salt and
mix the contents with your hands. Taste to see if more salt is required. Carry
on gradually adding and mixing like this until it tastes about right – Salty but not unpalatable. There needs to be
enough salt to prevent aerobic fermentation by airborne bacteria.
Next, leave
ingredients for 20 minutes or so, during which time the salt will start to
bring out the juices from the vegetables. Massage them to further help this
action, then transfer into a large, wide necked jar (sterilised).
Push contents down as much as possible using your
hands or a rolling pin then place a weight, such as a jar filled with water
with the lid on, inside your main jar. This is to weigh the vegetables down so
that they will become submerged in salty brine.
Once fermentation starts
taking place (usually after a day or so) the brine level will rise to cover
your vegetables. If after a few days this hasn’t happened you can add a little
mineral water to bring the level up. It’s worth placing a tray or saucer under
the jar as there may be some overflowing.
Sample the kraut
regularly and when it tastes good to you (probably after around a week) remove
the weight, pop a lid on the jar and store in the fridge. It will keep for
weeks or even months.
A precautionary note: Only pick and consume wild
plants if you are one hundred percent certain you can positively identify them.
Also, with any new food, air on the side of caution, trying only a small
quantity to begin with.
By Martin Bailey
Foraging walks and courses in the Bristol and Bath area, The West Country, Wales, The New Forest and across Britain