Category Archives: Posts about recipes

Posts about recipes

Goodbye Winter Salad

IMG_2199

Adding foraged ingredients to couscous works really well. You can truly let your imagination run wild,  adding various leaves, shoots and seeds as well as store cupboard ingredients until you are satisfied.  I always taste what I’m making as I go so I don’t overdo it with any one ingredient and I have favourite additions which I include every time; toasted pine nuts, lemon zest, avocado and Elderberry vinegar work really well. Leaves-wise this time I added Wild Garlic, Three Cornered Garlic flowers, Common Sorrel, Alexanders, Hairy Bittercress, and Garlic Mustard. I also added some Lady’s Smock leaves (chopped finely as their taste is particularly strong), Fennel and Yarrow leaves.

Regular couscous is good but I love the spelt variety with it’s nutty taste.

I added my own dressing to taste. This was made from Elderberry vinegar, apple cider vinegar, extra virgin olive oil, whole grain mustard, paprika, olive oil, thyme and seasoning.

Slightly wild chutney

IMG_9001

Chutneys are a great way to combine wild food with home grown produce.  Every Autumn I have a huge surplus of runner beans and this is how I put them to good use:

Runner-bean chutney

Makes 5 medium sized jars. 

  • Three cornered garlic bulbs  25-30
  • Malt vinegar 150ml
  • Allspice berries 9
  • Coriander seeds 1 tsp
  • Garlic Mustard seeds 2 tsp
  • Runner beans 750g
  • English mustard powder 1 tbsp
  • Wholegrain mustard 2 tsp
  • Turmeric 2 tsp
  • Cider vinegar 150ml
  • Organic cane sugar 200g
  • Salt 1 heaped tsp 
  • Tomatoes 300g
  • Cornflour 30g

Peel and halve the three cornered garlic bulbs, put them into a medium-sized saucepan with the malt vinegar, coriander and Garlic Mustard seeds. Bring to the boil then lower the heat and simmer for 8 minutes.

String the beans, removing the stalks. Thinly slice each bean, cutting diagonally to give fine shreds about 4 or 5cm long. Bring a pan of water to the boil, add the beans and cook for a full minute. Drain and set aside.

Mix the mustards, turmeric, sugar, salt and half the cider vinegar in a small basin. Dice the tomatoes then add to the saucepan with the vinegar and garlic bulbs, stir in the beans and mustard mixture then add the remaining cider vinegar. Bring to the boil, then simmer for 15 minutes, stirring regularly. The beans should be tender but don’t overcook – remember they will soften in the jars.

Remove a few spoonfuls of liquid and use it to mix the cornflour to a paste. Stir gently back into the beans. Leave to simmer for a minute or two until the mixture has thickened slightly. Ladle into warm, sterilised preserving jars and seal.

You could substitute the Garlic Mustard seeds for bought yellow mustard seeds as it is too late to forage your own seeds at this point in the year – I collect them during mid-late Summer and store for later use.

Three Cornered Garlic bulbs can be found all year round but you could use shallots or onions instead.


Vinegar Heaven


IMG_9022


These vinegars were made from allotment black currants, foraged Blackberries and Elderberries. Last September I made enough Elderberry vinegar to last through the year and it’s proved to be one of my favourite kitchen ingredients.

  • Raspberry vinegar can be used to deglaze cooking pans after sautéing lamb. The delicious fruitiness lifts the caramelised flavours off the bottom no more scrubbing sticky pans!


  • Add Elderberry vinegar to olive oil for a mouthwatering salad dressing, the perfect accompaniment to all your foraged salads.
  • Elderberry vinegar is also particularly good with game.
  • Make a refreshing cordial by adding vinegars to iced mineral or soda water.
  • Lastly, surprisingly, vinegars work a treat drizzled over vanilla ice cream.

Full of vitamins, anti-oxidants and anthrocyanins, your fruit vinegars can help keep colds at bay throughout the winter months.

 Vinegars still contain quite a lot of sugar – but less than things like jams, jellies and fruit leathers. Use unpasteurised apple cider vinegar in your recipes and you’ll be getting even more goodness.

 More or less sugar can be used according to your preference.  Add the sugar to taste when you heat your vinegar before bottling.

- Using less sugar means you’ll have a more vinegary tart flavour.
- Adding more sugar and you’ll end up with a more syrupy consistency.

 Below is a basic recipe for making Elderberry vinegar which I’ve taken from Miles Irving’s excellent book The Forager Handbook. He credits the recipe to forager-herbalist Mandy Oliver. You can use the same method to make other fruit vinegars.

Elderberry vinegar recipe:

Freeze Elderberries then when you are ready to make your vinegar remove from the freezer,  prizing them from their stalks using your fingers.  Discard any that don’t look good.

Allow 500ml white wine or apple cider vinegar for 350g fruit. Add the vinegar to the fruit, leave covered for 3-5 days, stirring occasionally, then strain off the liquid.

Add 350g sugar per 260ml liquid, boil for 10 minutes then bottle in sterilised bottles.

You can try reducing some of the liquid for a further 10 minutes or so to make a balsamic glaze which is fantastic on deserts.


Lentils go wild

IMG_7252


A simple meal with super fresh home-grown and foraged ingredients. This is very much my kind of food.

You could use different greens and whatever herbs you fancied and of course ingredients don’t all have to be home grown or foraged.

Here’s the recipe. I haven’t added quantities as this dish was improvised. Add ingredients as you see fit.

  • Green lentils
  • 1 red onion
  • Garlic
  • Wild Horseradish
  • Large Sea Aster leaves
  • Sea Spinach
  • Sea Lettuce
  • 1  courgette
  • Yellow and green beans
  • 1 hard boiled egg
  • Chorizo (pre-cooked)
  • Wild Marjoram
  • Wild Thyme
  • Purple Sage
  • Cumin seeds (crushed)
  • Caraway seeds (crushed)
  • Sesame oil
I began by sweating the onion for five minutes. I then added the horseradish plus chorizo, garlic, cumin and caraway seeds.
Meanwhile I cooked and drained the green lentils and boiled an egg.
I then steamed my vegetables;
Sea Aster leaves, Sea Spinach leaves, green and yellow beans from the garden and a courgette.
After this I shallow-fried some Sea Lettuce, which had been marinating in sesame oil, frying each strip separately until it turned crisp.
Finally I added all these ingredients to the pot along with some Wild Thyme and Marjoram flowers then let it cook for a few minutes longer.


Ravishing radishes

IMG_5985 Once again I’m getting in a right pickle here. But that’s okay. Pickling is fun. As with brewing the anticipation is half the pleasure.

Sea radish pods are lovely- they taste like sweet radishes. I picked these  a couple of weeks ago from a spot near the Severn Bridge and its not too late to harvest them but I’d get a move on. You want the ones with a bit of ‘give’ when you squeeze them (if they are too hard they’ll be crunchy but not in a good way).

Firstly bring salted water to the boil, then add radishes and remove from the heat. Leave for five or ten minutes to soften then drain the pods thoroughly.

Place radishes in sterilised jars and add a bay leaf, some chilli flakes, one clove of garlic, a pinch of salt in each jar and some wild thyme (I cheated and picked thyme from the herb garden in my local park which still felt more like foraging than buying it from a shop).

Bring some cider vinegar to the boil, then simmer for a few minutes before pouring into the jars.

The pickled radish pods will be ready to consume in about two months. In the meantime enjoy fresh pods chopped and added to salads.

Prickly pickles


IMG_4628

Pickled Thistle. Ouch that tastes good!

Wearing THICK gloves we harvested then trimmed the thickest looking Marsh Thistle stems we could find and peeled the skin and outer layers using a cheese slicer (making absolutely sure all the spines had been removed).
We then chopped these into pieces, washed and sautéed for a few minutes to slightly caramelise them. 

IMG_4828

Next we heated 60/40 water and white wine vinegar, simmering for a few minutes, poured into hot, sterilised jars adding our thistle pieces, a tablespoon of honey, a little salt, one or two cloves of garlic chopped Clove Root, Ramsons seeds and Alexanders seeds. 

IMG_5104


These were left for a day or so to pickle. They were delicious! It’s a lot of effort, granted but worth the trouble as they have a great taste, similar to artichoke. 

Once pickled you can also add thistle pieces to jars of oil and I think this is how I like them best!

IMG_4803

Jack by the Hedge

IMG_4099

Jack By The Hedge or Garlic Mustard is a plant that you really ought to get to know. You might love it… I do.

A member of the Cabbage/Mustard family; as well as being high in vitamin A, the leaves contain glucaosinolates, apigenin flavanoids, allyl sulphides and isothiocyanates, which are known to have anti-tumour effects. Garlic Mustard does however also contain anti-terpines which inhibit the absorption of proteins in the small intestine. For this reason it’s probably best to avoid consuming large amounts of this plant… All things in moderation.

Garlic Mustard often grows at the edge of woods or in hedgerows in large clusters reaching up to a meter in height. From mid-April the plant’s small, white, four petalled flowers make it easy to spot. By this time of year, as the plants cling onto their last few flowers, the notable features are the long, green seed pods, which reach out from the central stem like Stick Insects.

The Nettle-like leaves are best eaten between March and May when they are flavoursome and neither too pungent nor tough.

Basal leaves (those at the base of the central stem) are kidney-shaped and for the first year of the plant’s two year life cycle they form a basal rosette, from which the plant grows up during it’s second year.

All foliage is edible but the tastiest leaves are those towards the top of the plant.

Garlic Mustard does taste of both garlic and mustard yet to me this plant has a flavour all of it’s own. See what you think.

The leaves go very well with bacon or lamb and are wonderful in salads whereas the flowers make a perfect garnish for risottos and lots of other dishes.

The dried seeds with their mustardy flavour can be harvested later in the summer, stored in jars and then used throughout the year for breads, chutneys and any dishes requiring spices.

As with all wild food the joy is in the experimentation so see what you come up with!

image

young leaves in February (above) and mature plants in May.

photo


Sauce of inspiration


IMG_3148


Cream and Wild Chervil sauce, pan-fried salmon and a salad.  This was foraged from Brandon Hill Park and included Ramsons, Three Cornered Garlic and Wild Onions.  Straightforward tasty food with a highly nutritious, crunchy, garlicy salad.  I was fighting off a cold so I put LOTS of garlic in this salad.  No sweaty supermarket vacuum packed nonsense here.

The coast is clear.

IMG_2707
Let’s clear a few things up about the coast…
It is still a little early for harvesting some coastal plants and seaweeds, but there’s certainly enough growing by March to make it well worth a trip to the seaside.
When you get there, having checked the tide times, have a look along the foreshore for some edible seaweeds. There are hundreds of varieties growing around our shores, and yet they have to be one of our most overlooked wild foods. Luckily, the three inedible types only grow in deep water, so they pose us no threat. I’m going to mention two types of seaweed you can find at the moment – both are very common, easy to identify and don’t need much preparation.
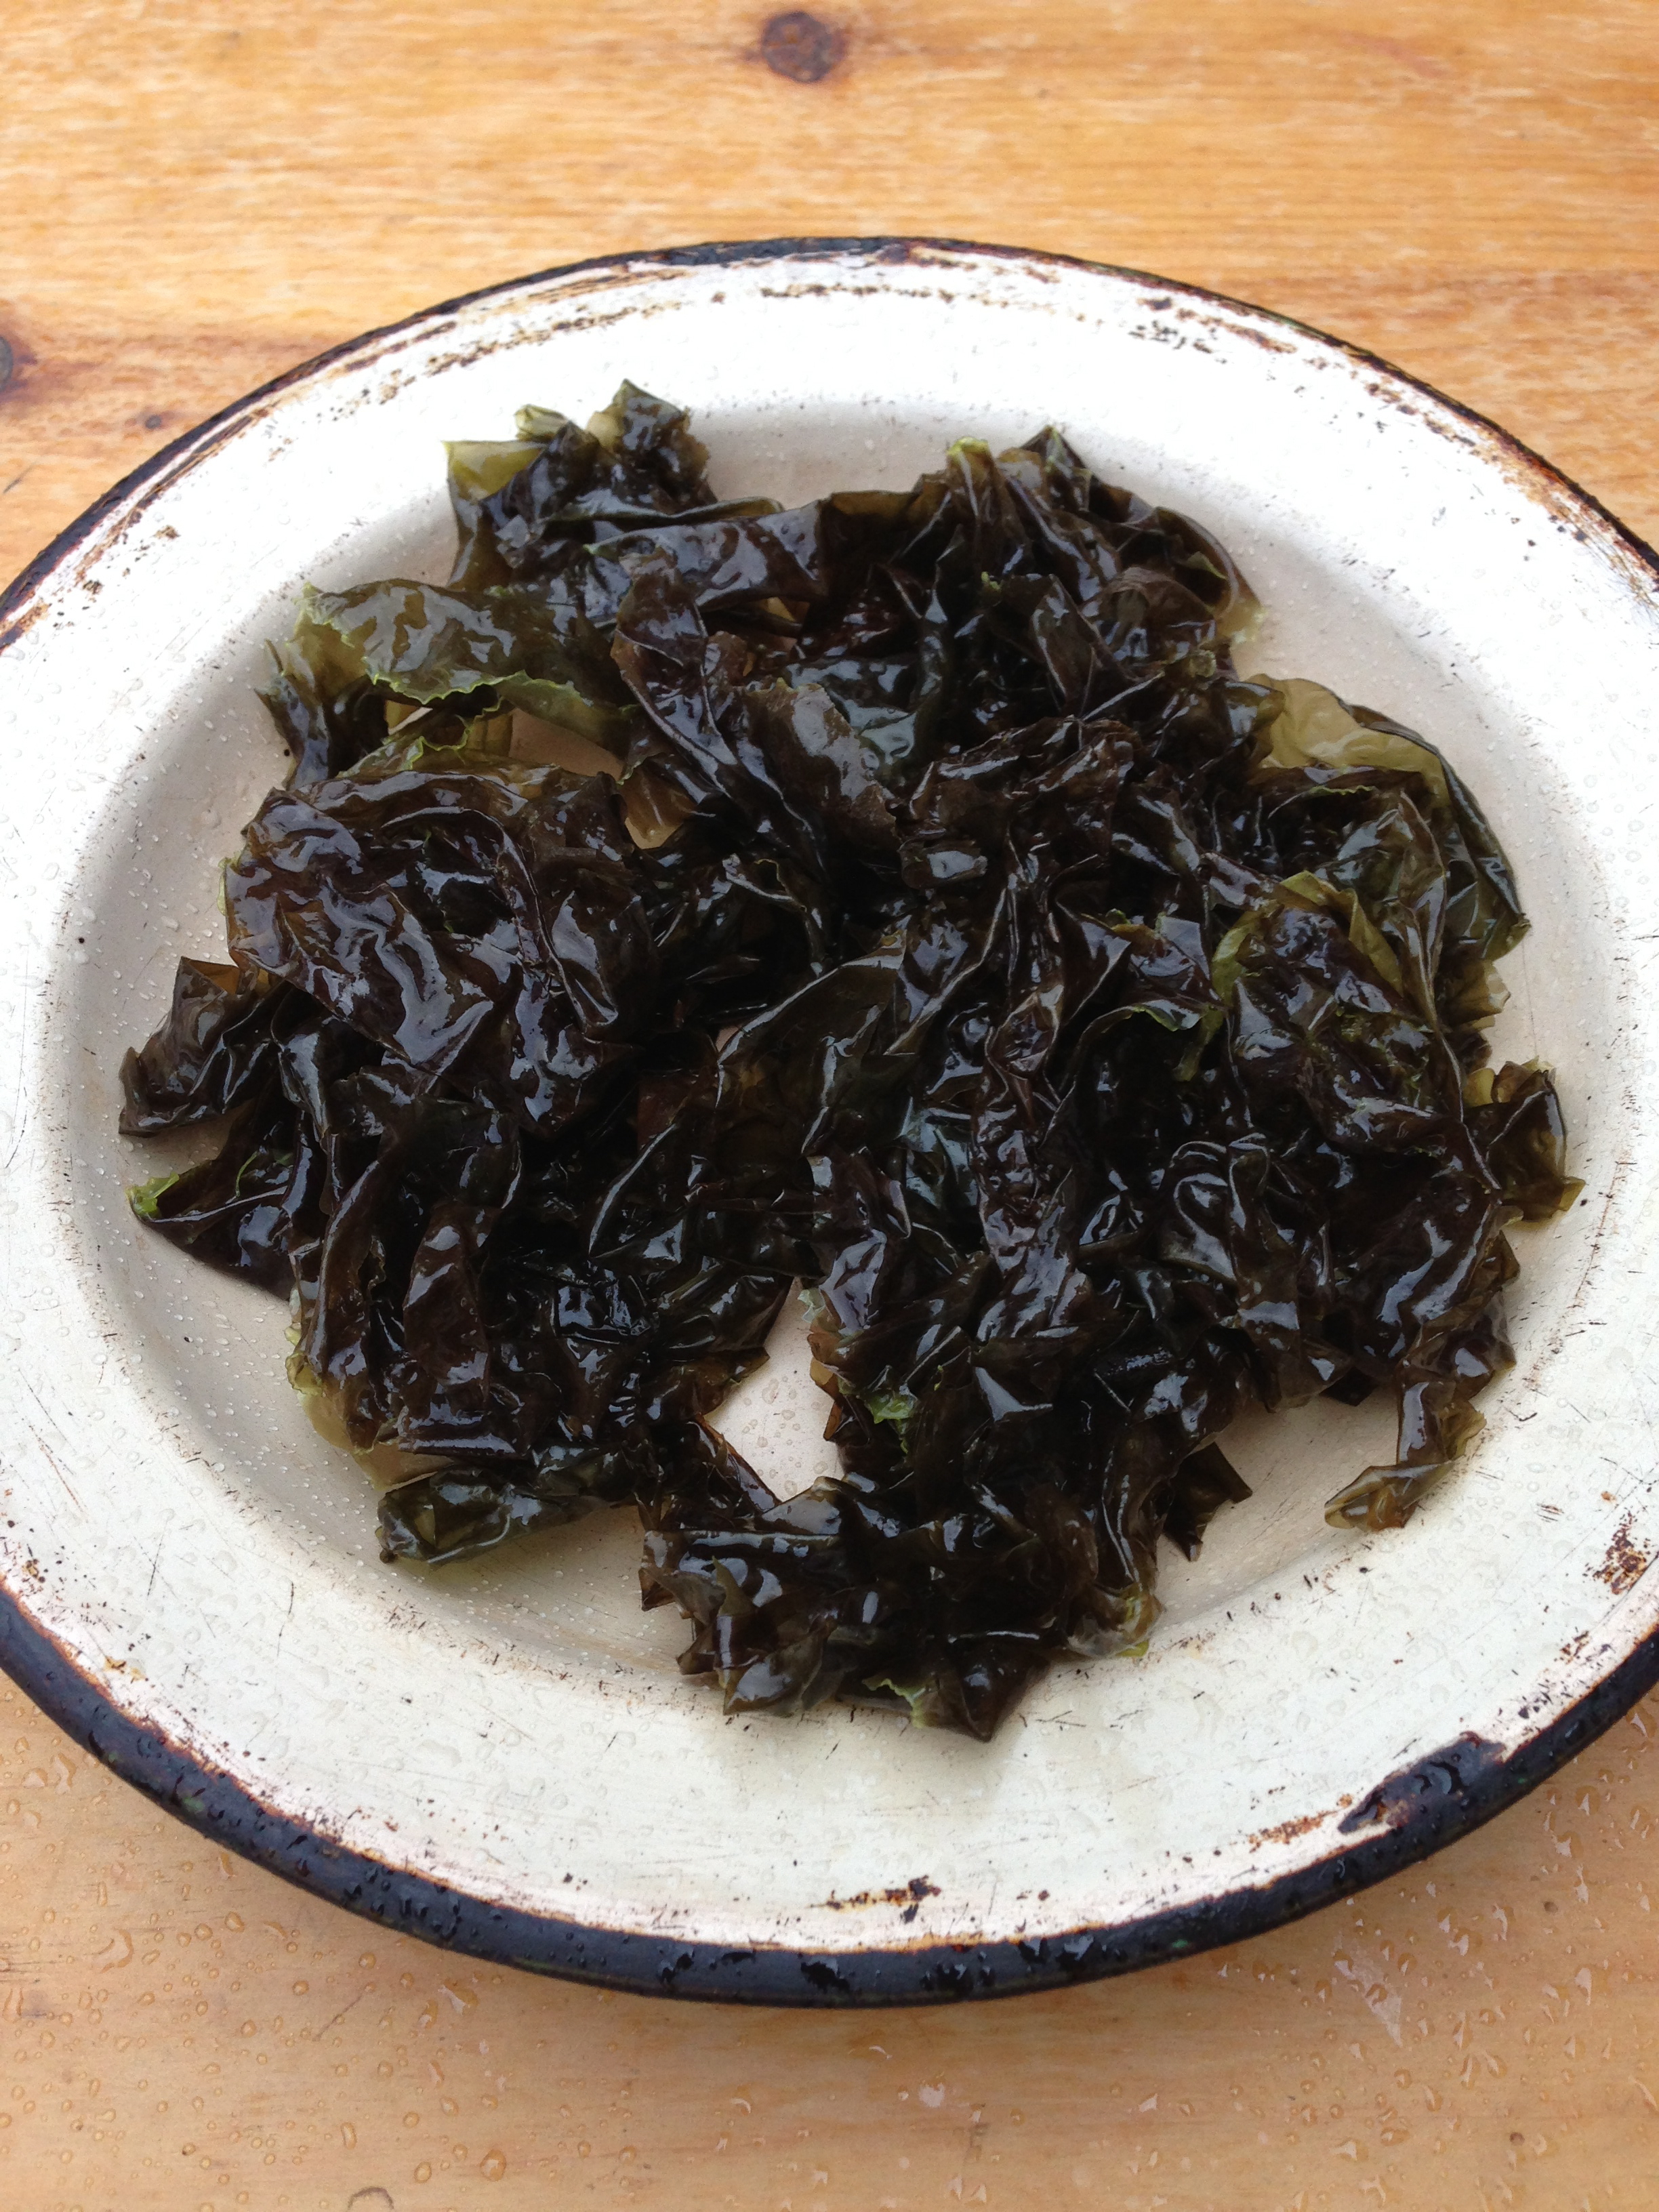
Laver.

Traditionally used by the Welsh to make laver bread, and often served with cockles or clams, in Japan Laver is transformed into Nori, the paper-like wrap for sushi. Laver is available all year round and best harvested when the tide is going out so it hasn’t yet picked up any grit.

IMG_3472

This purple-brown seaweed is easy to recognise – it looks like an assortment of shredded plastic bags draped over the rocks! Granted, seaweed might not appear the most appetising of foods, but get involved and I promise you won’t be disappointed…

Laver bread takes 4-5 hours to cook, but if you want to try something a little quicker – here’s a recipe I picked up from forager Henry Ashby that requires a lot less time but is just as tasty:
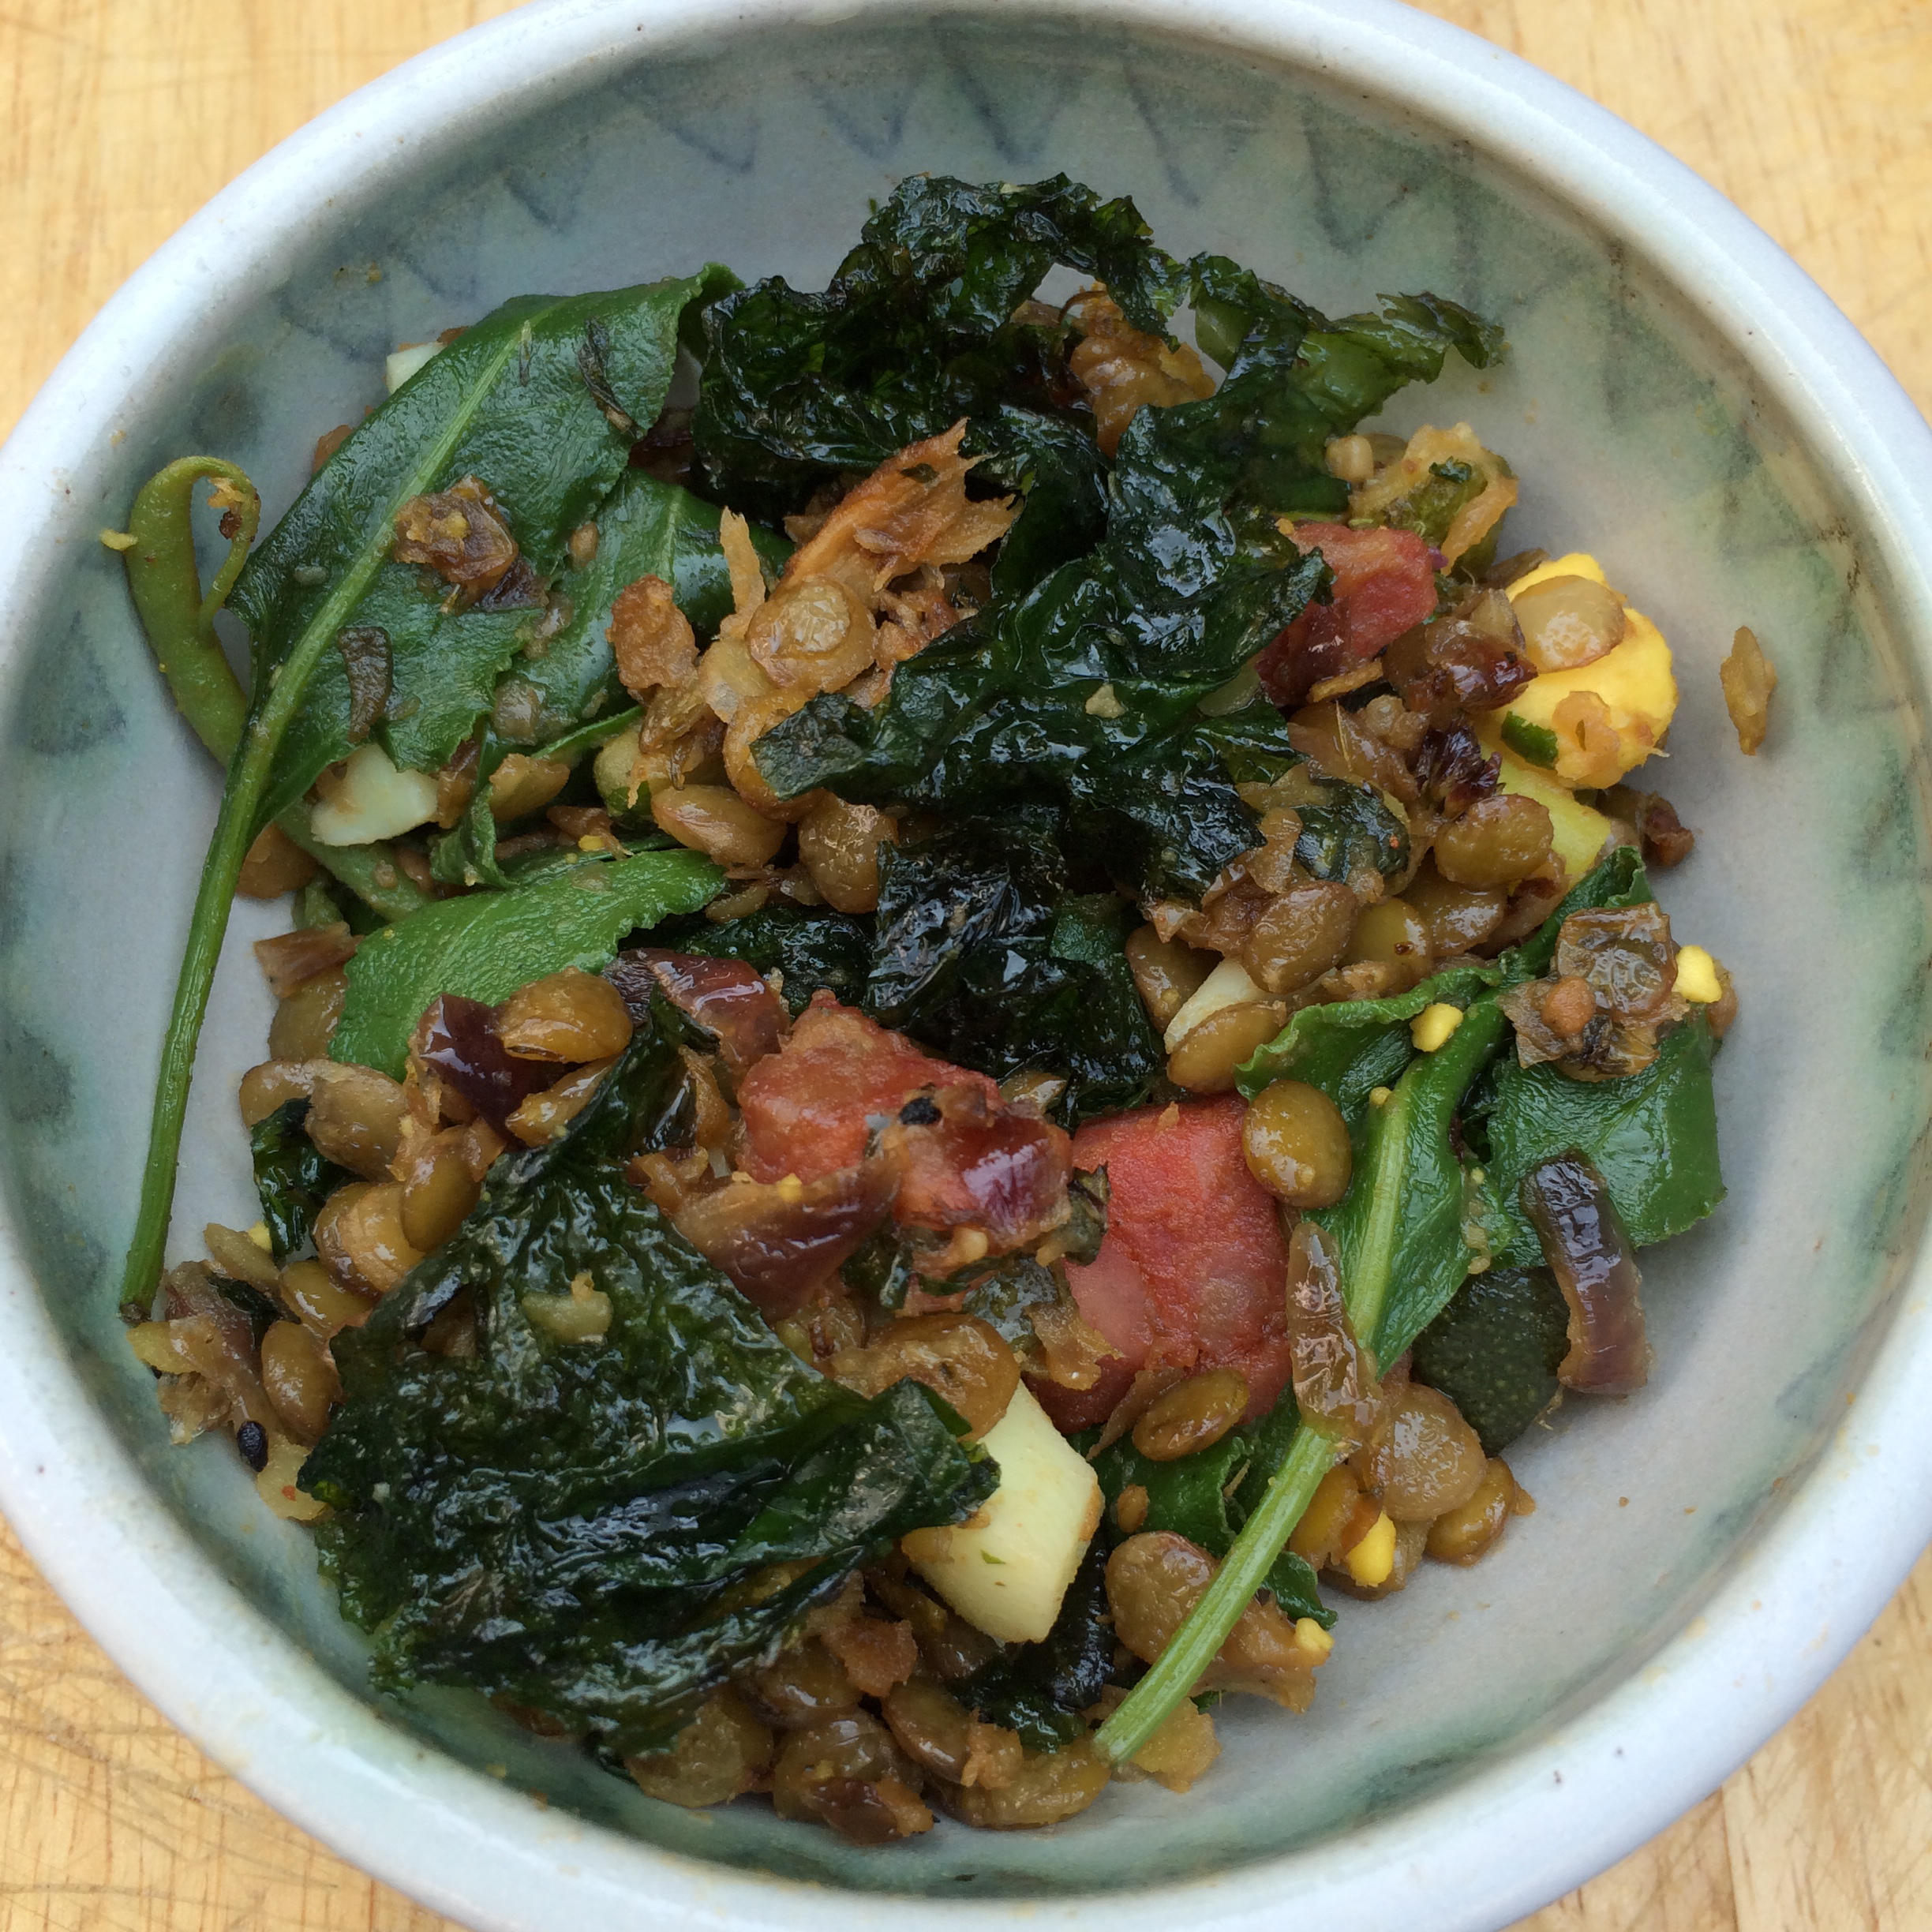
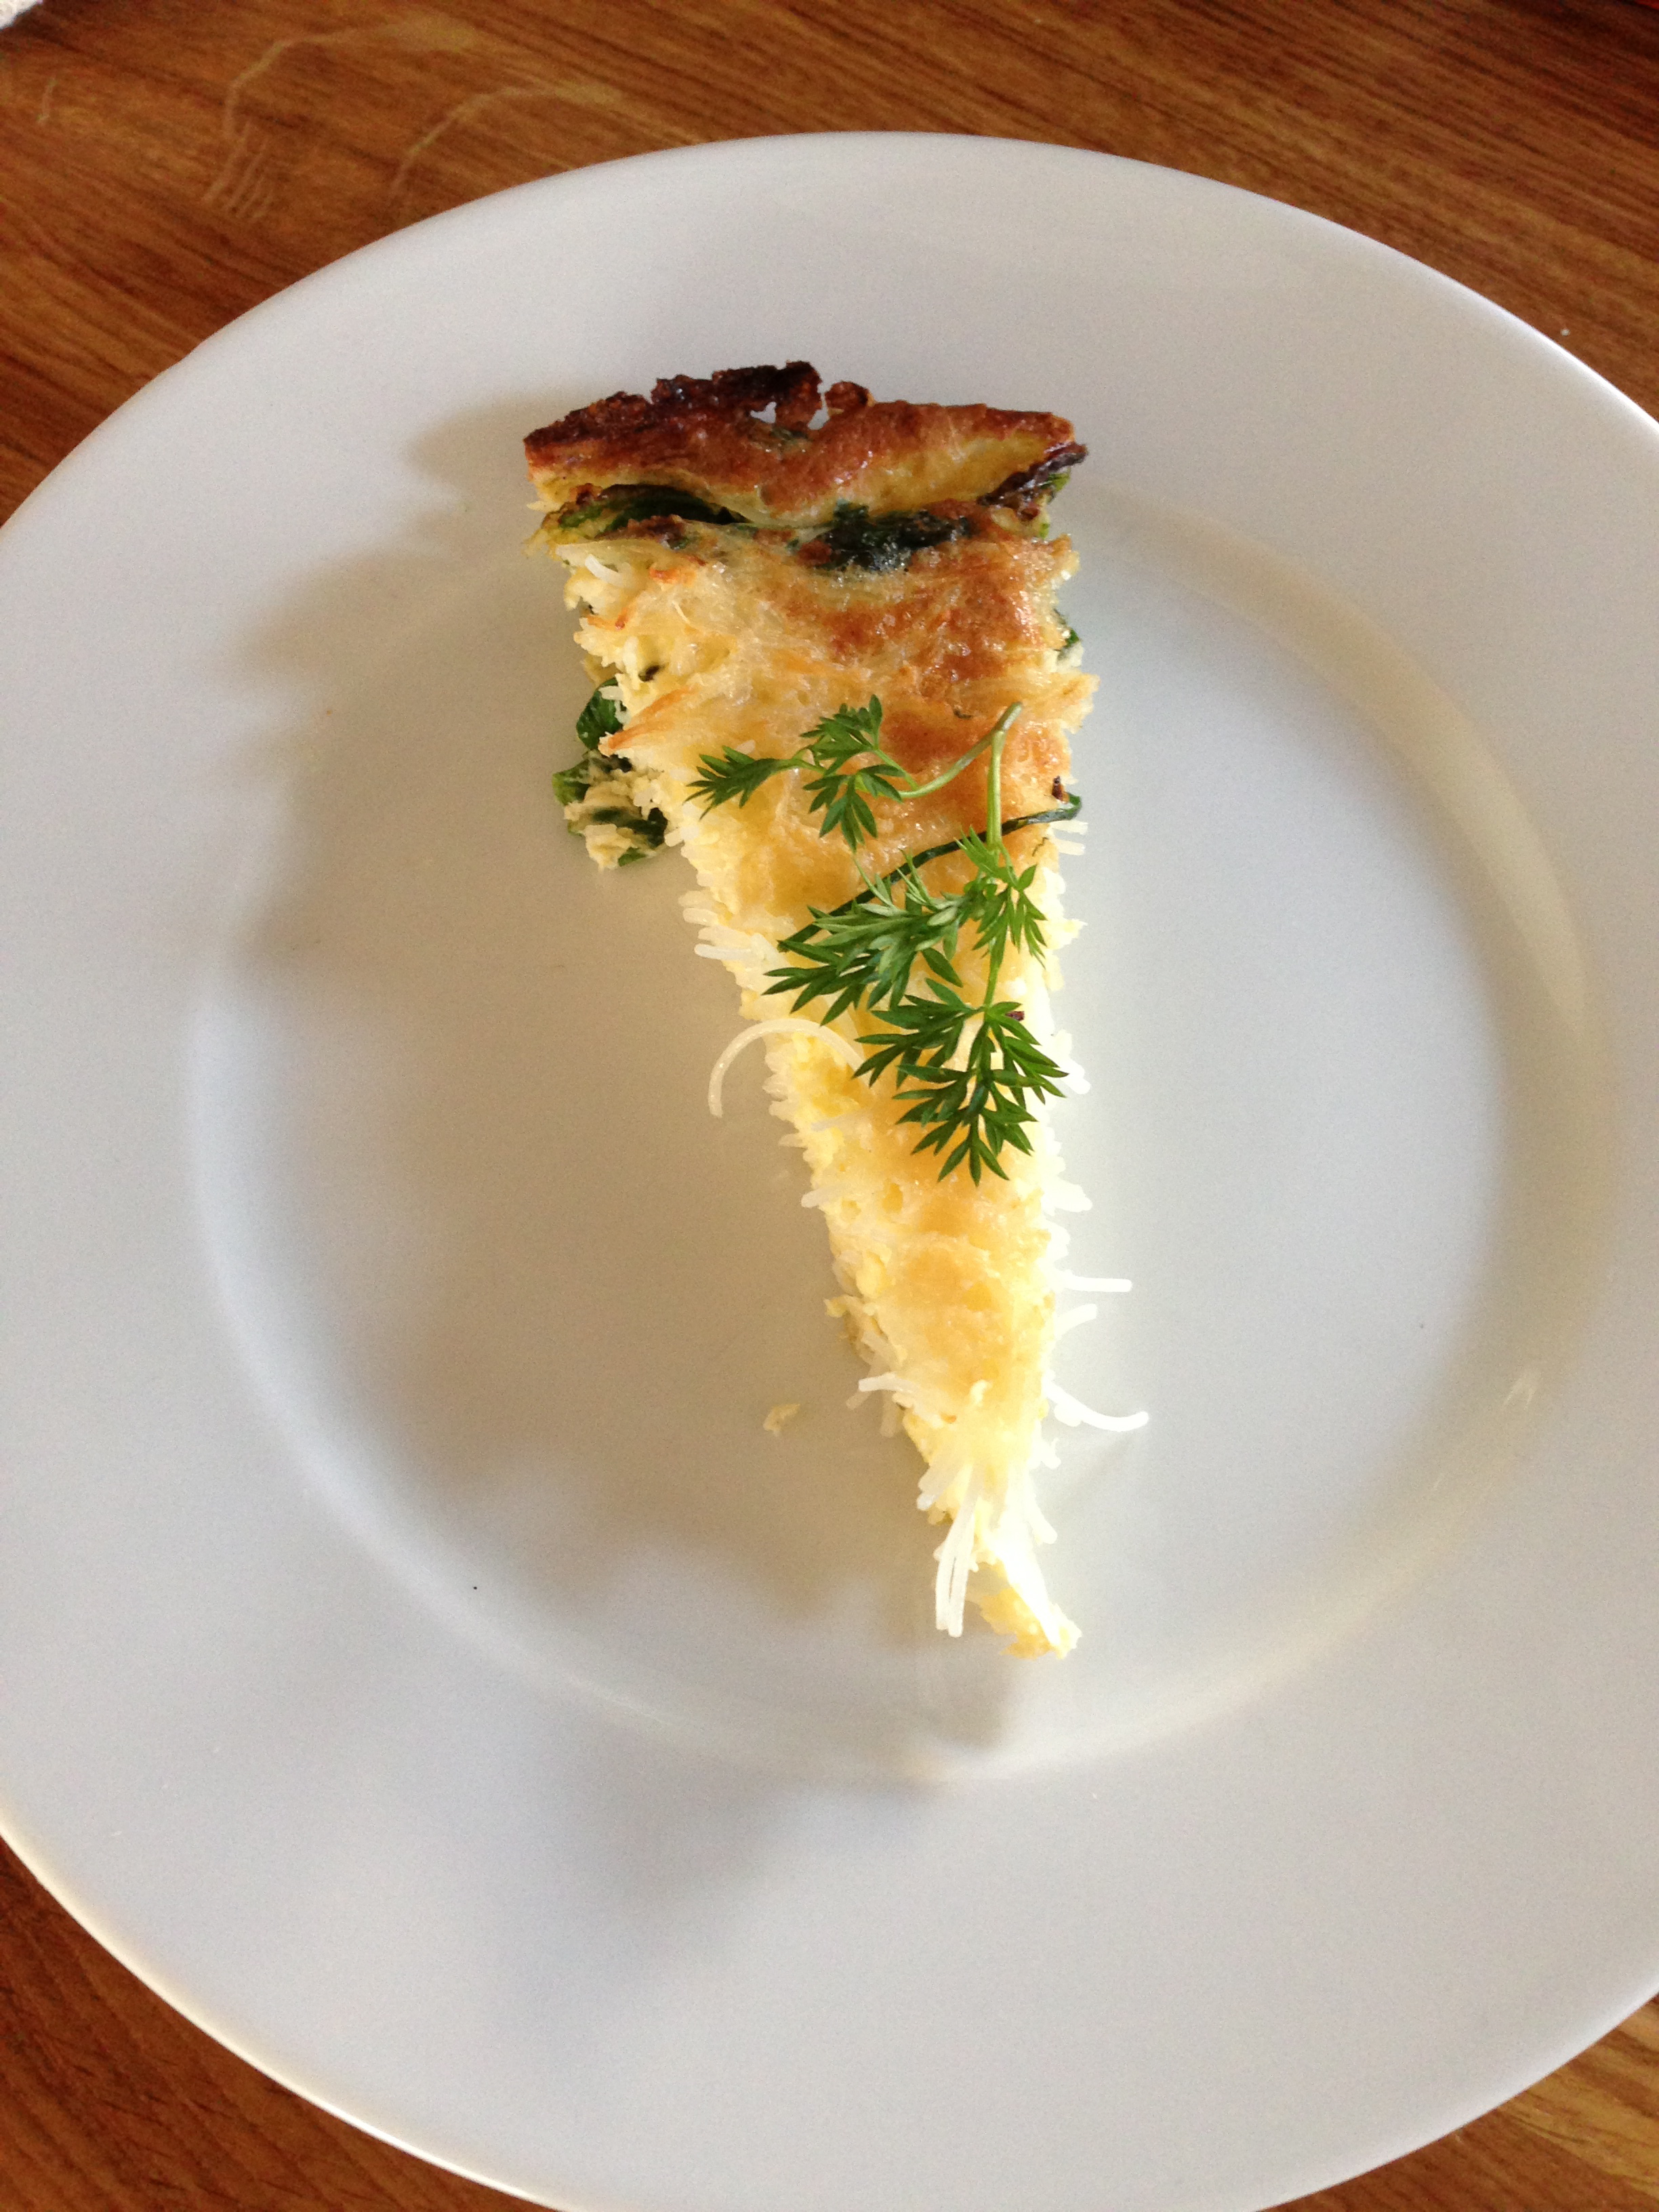
A humble breakfast of eggs, bacon, laver and mushrooms.

First, wash the laver thoroughly, then add to a pan of water and bring to the boil. Simmer for an hour or so, then strain.

In a small frying pan, cook some bacon medallions. Fry the mushrooms separately, then add the laver and mushrooms to the pan you cooked the medallions in.

Crack two eggs on top of the mixture and place under the grill for a few minutes until the eggs are cooked.

That’s it… Enjoy!

IMG_2646
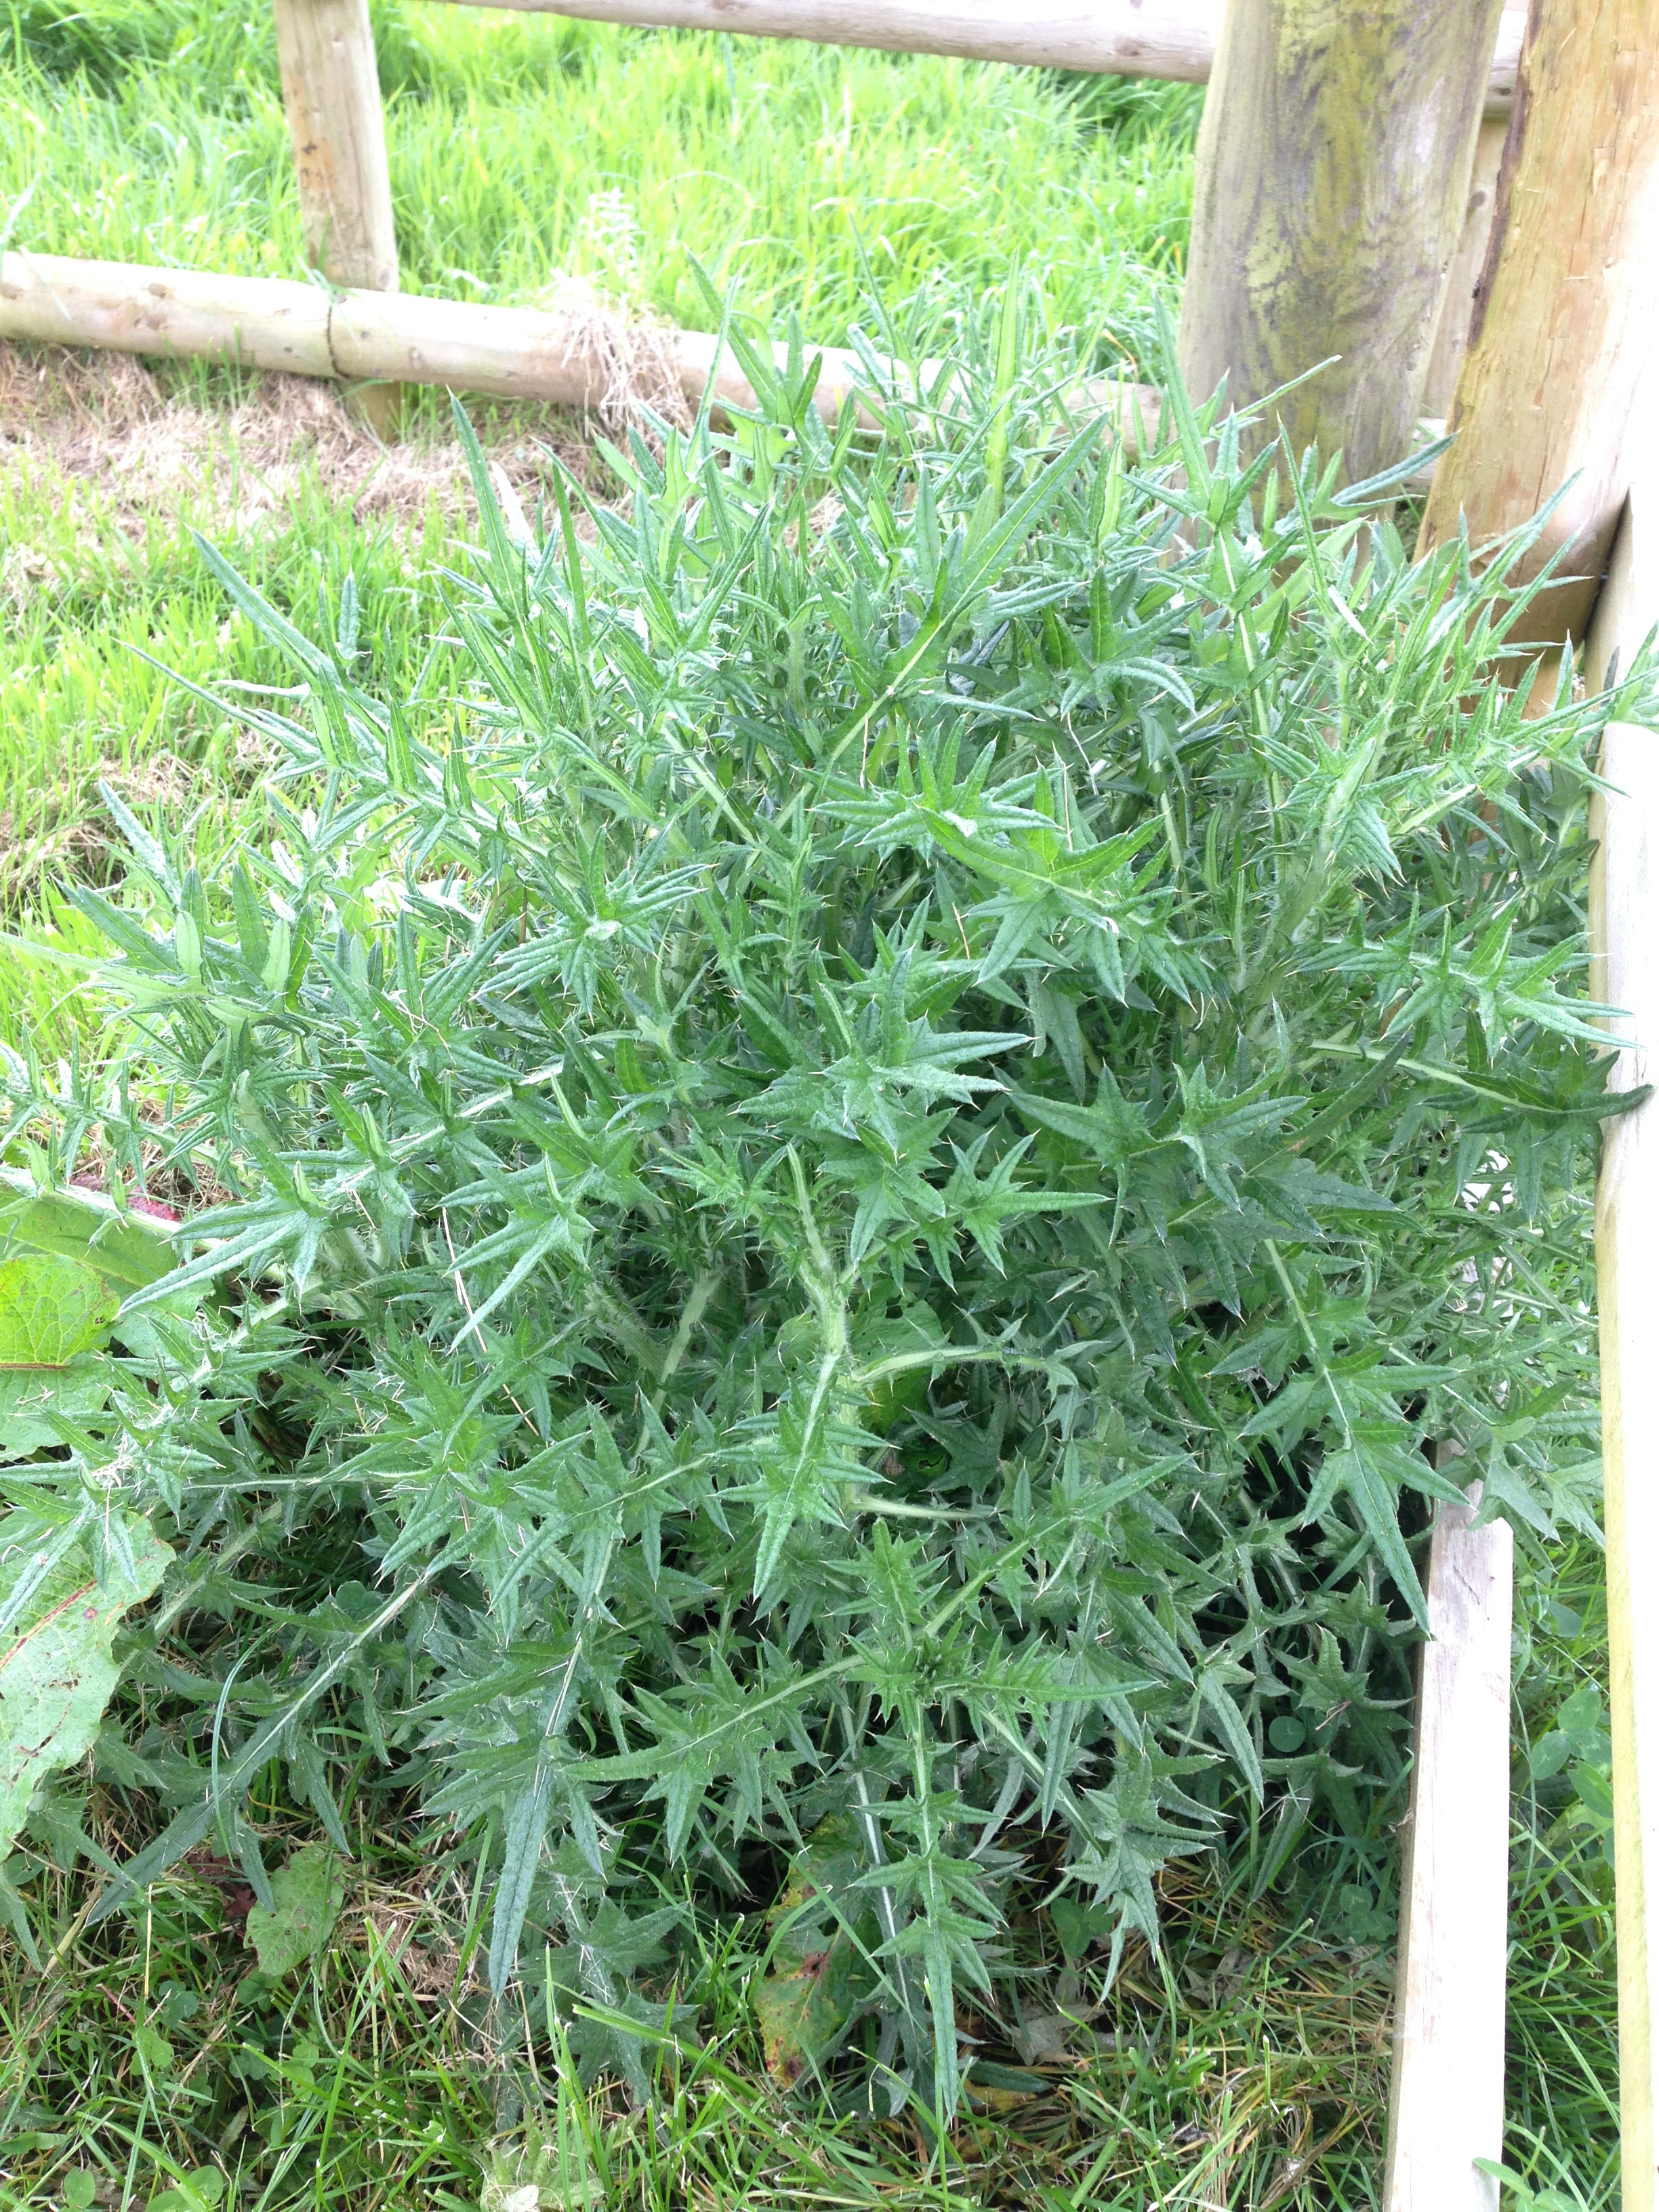
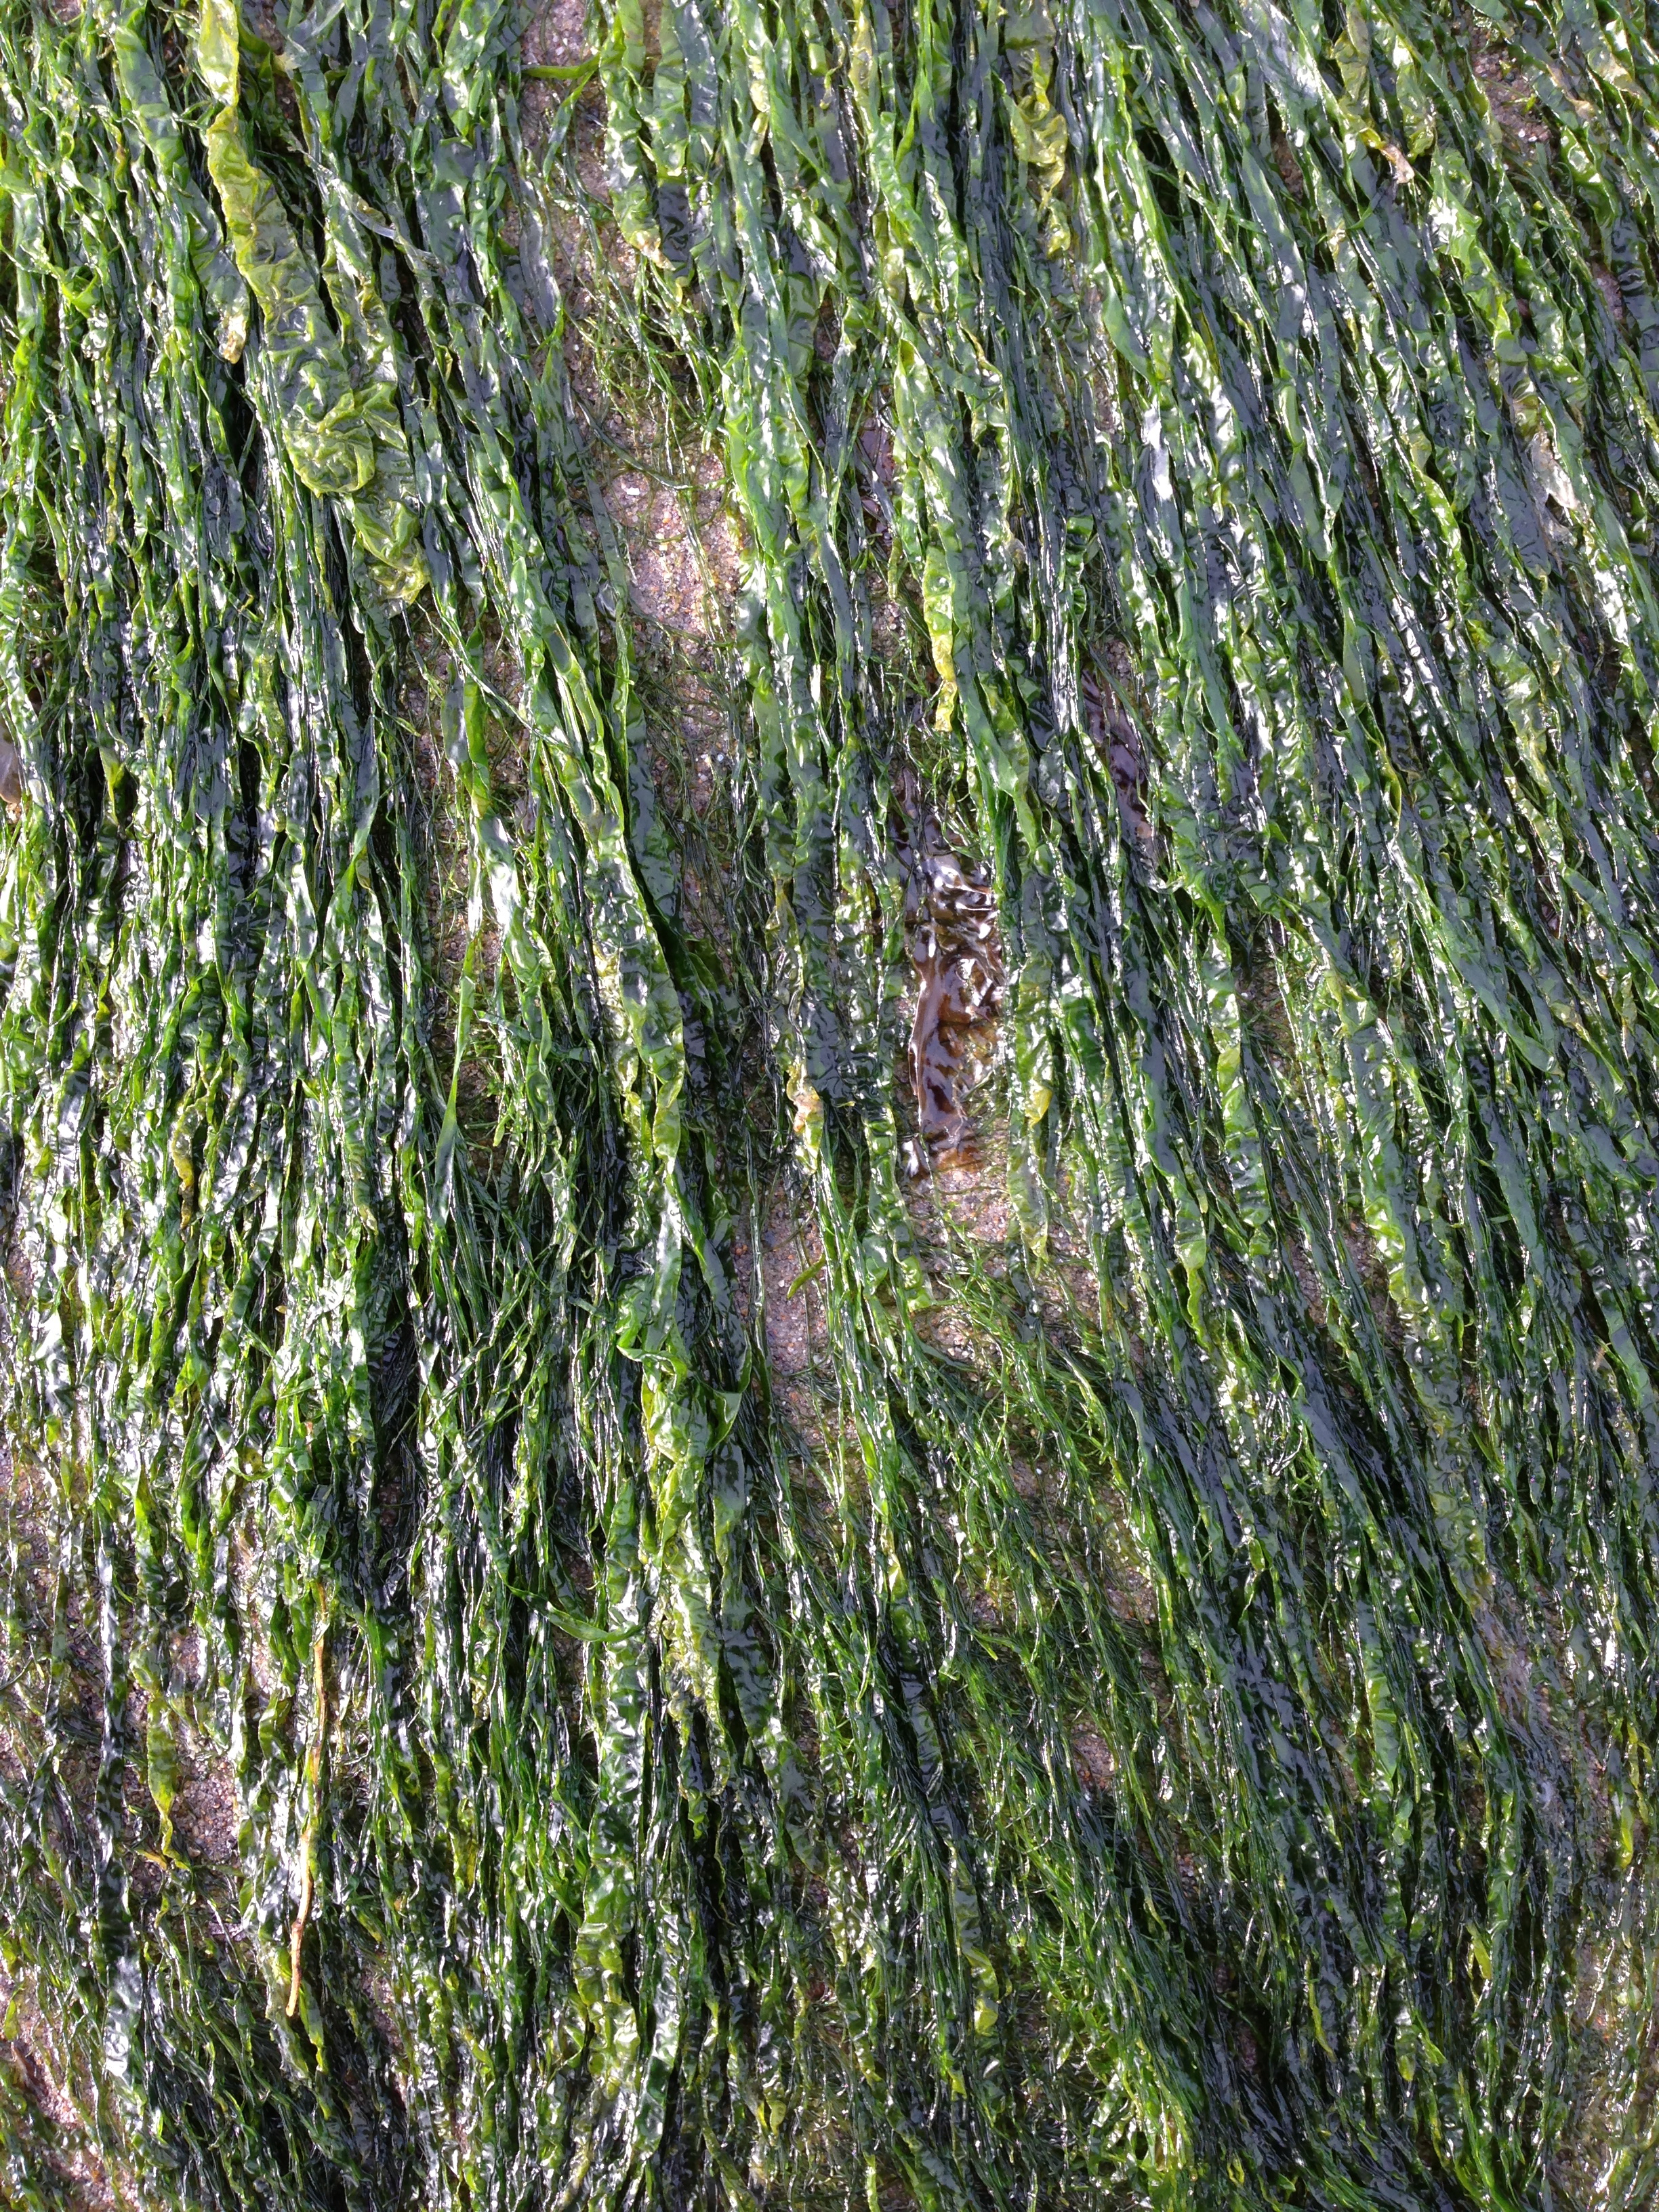
Another of my favourite seaweeds is Gutweed. Don’t be put off by the name! It’s actually a very tasty green seaweed. With minimal preparation you can transform it into the forager’s version of the ‘crispy seaweed’ sold in Chinese restaurants. This species grows abundantly throughout the year, so there’s no need to worry about over-picking. That said, it’s best to use scissors and avoid harvesting too close to the base or ‘holdfast’. By doing this you give them a chance to regrow.
Perhaps best in late spring, you can find this seaweed across the entire intertidal zone, often attached to rocks, or free-floating. To be safe, only collect seaweeds still attached to rock.
IMG_2639

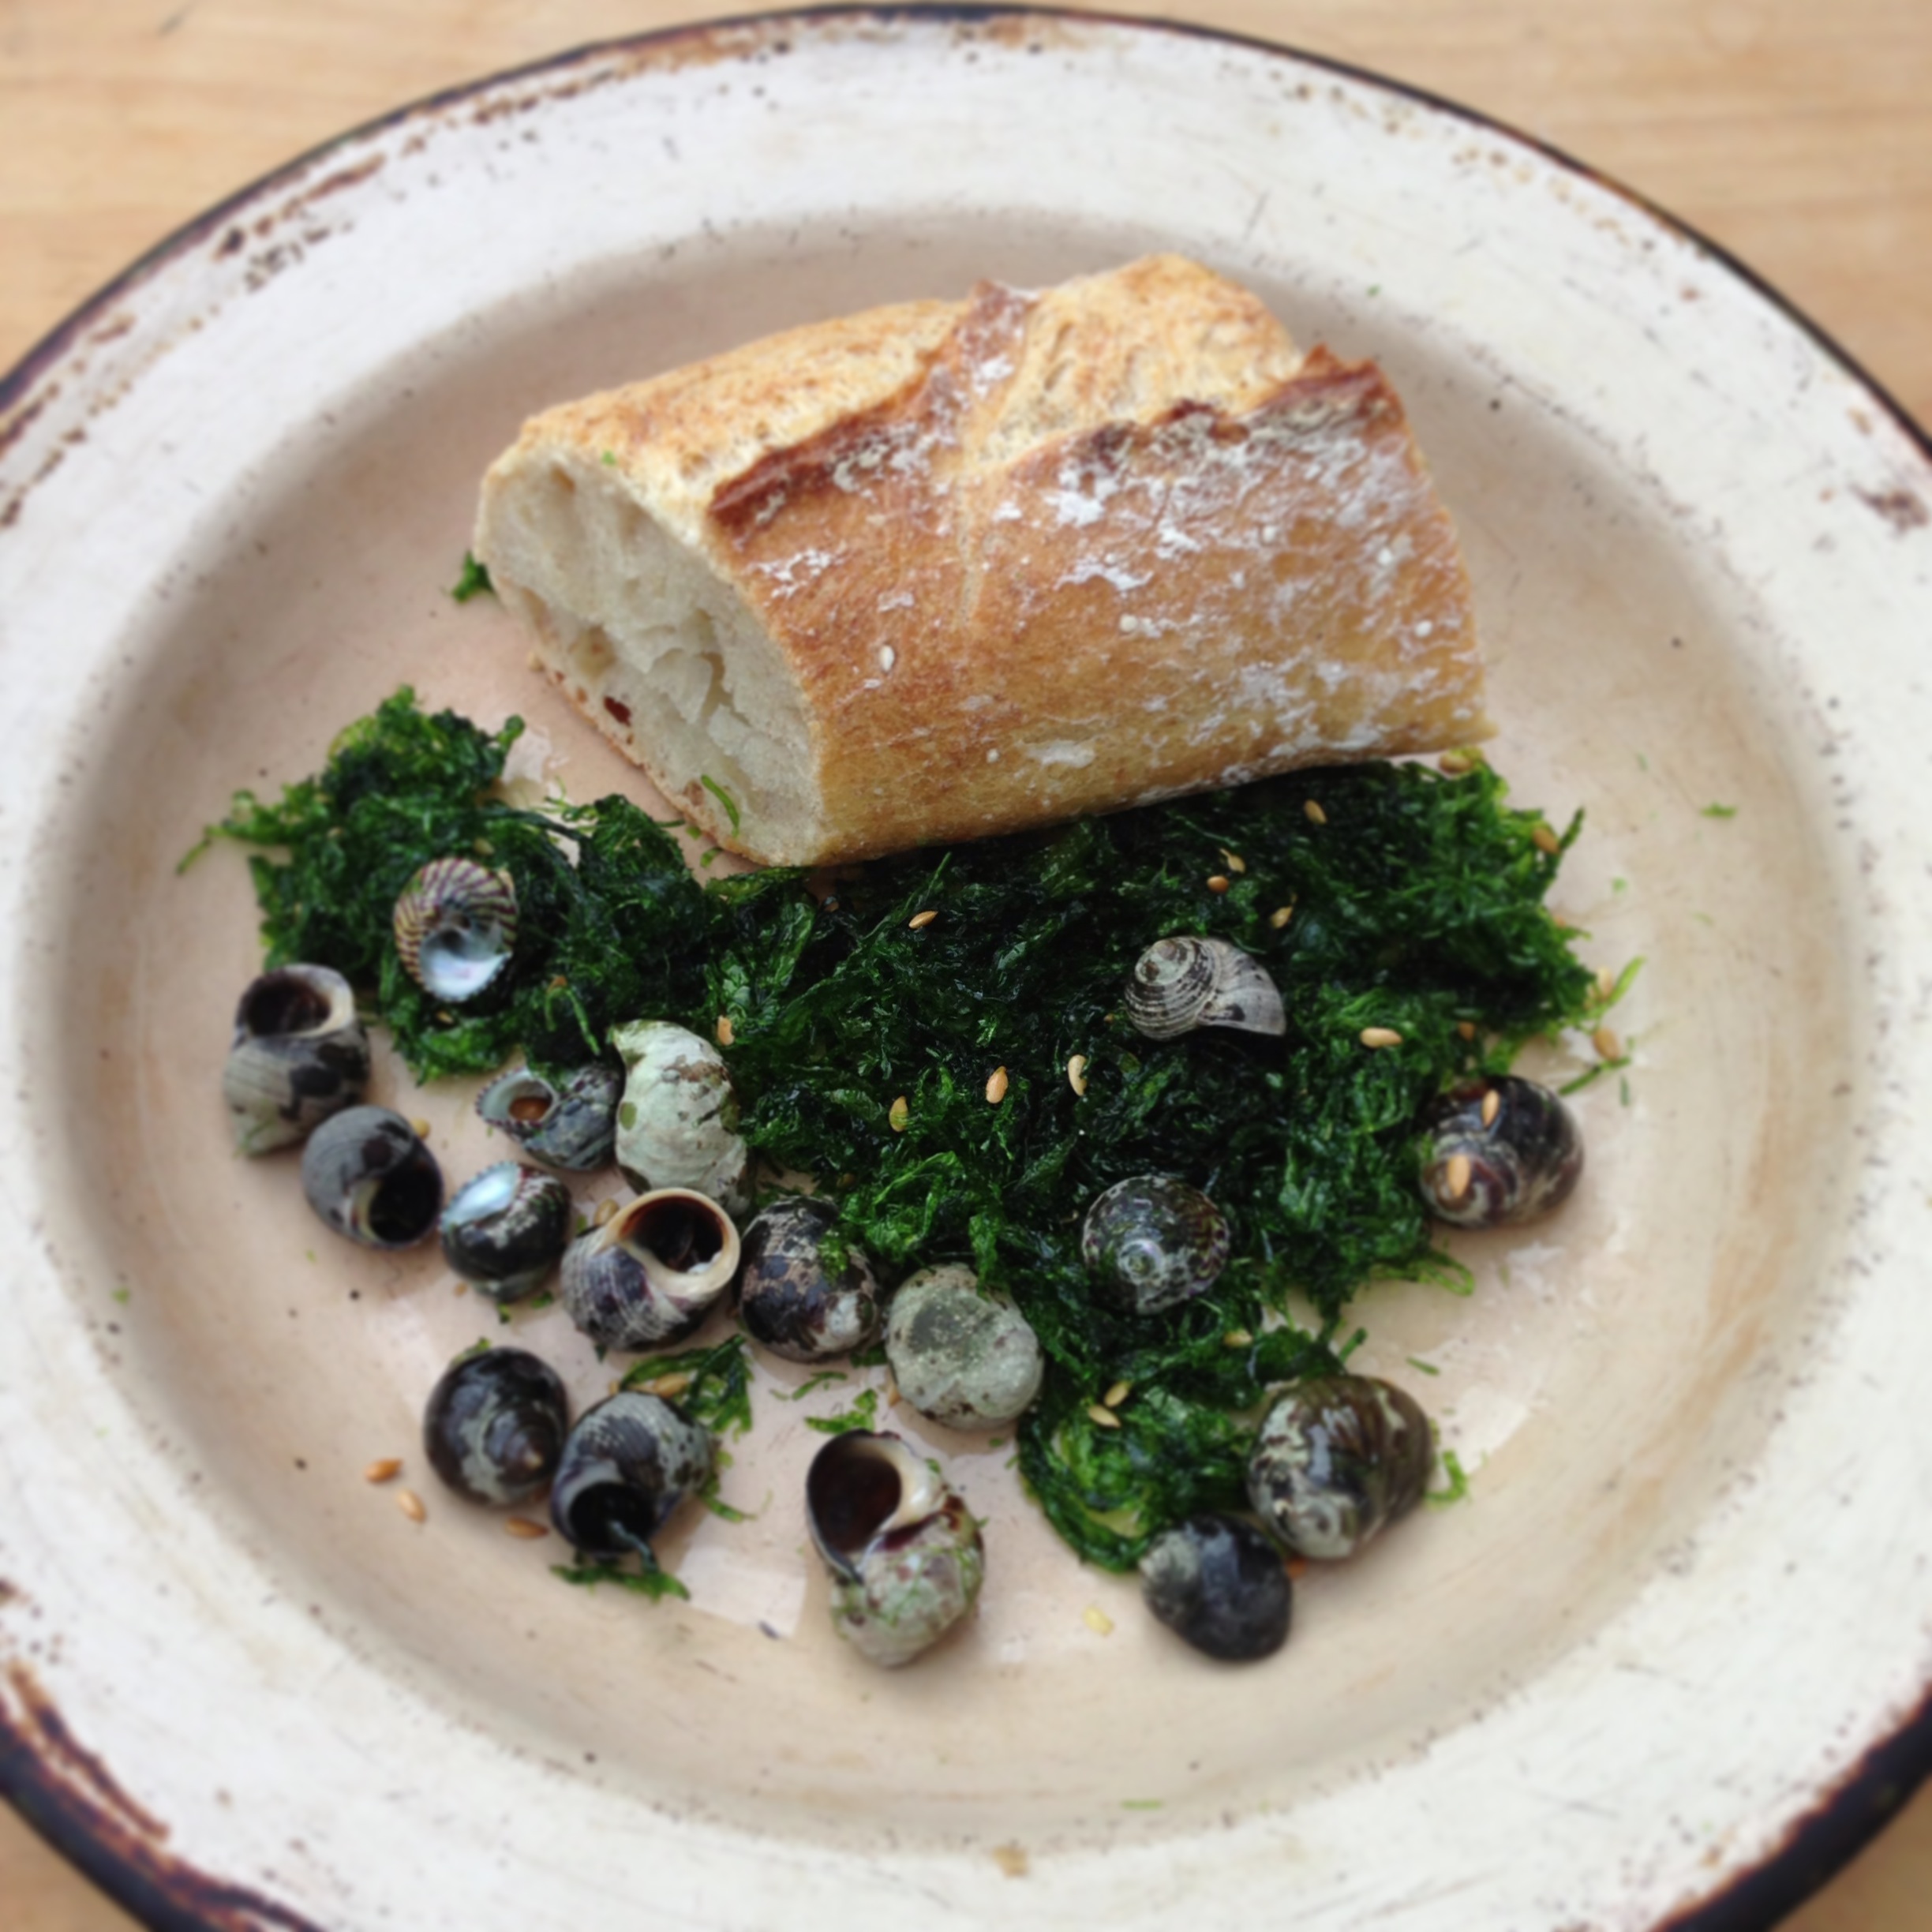
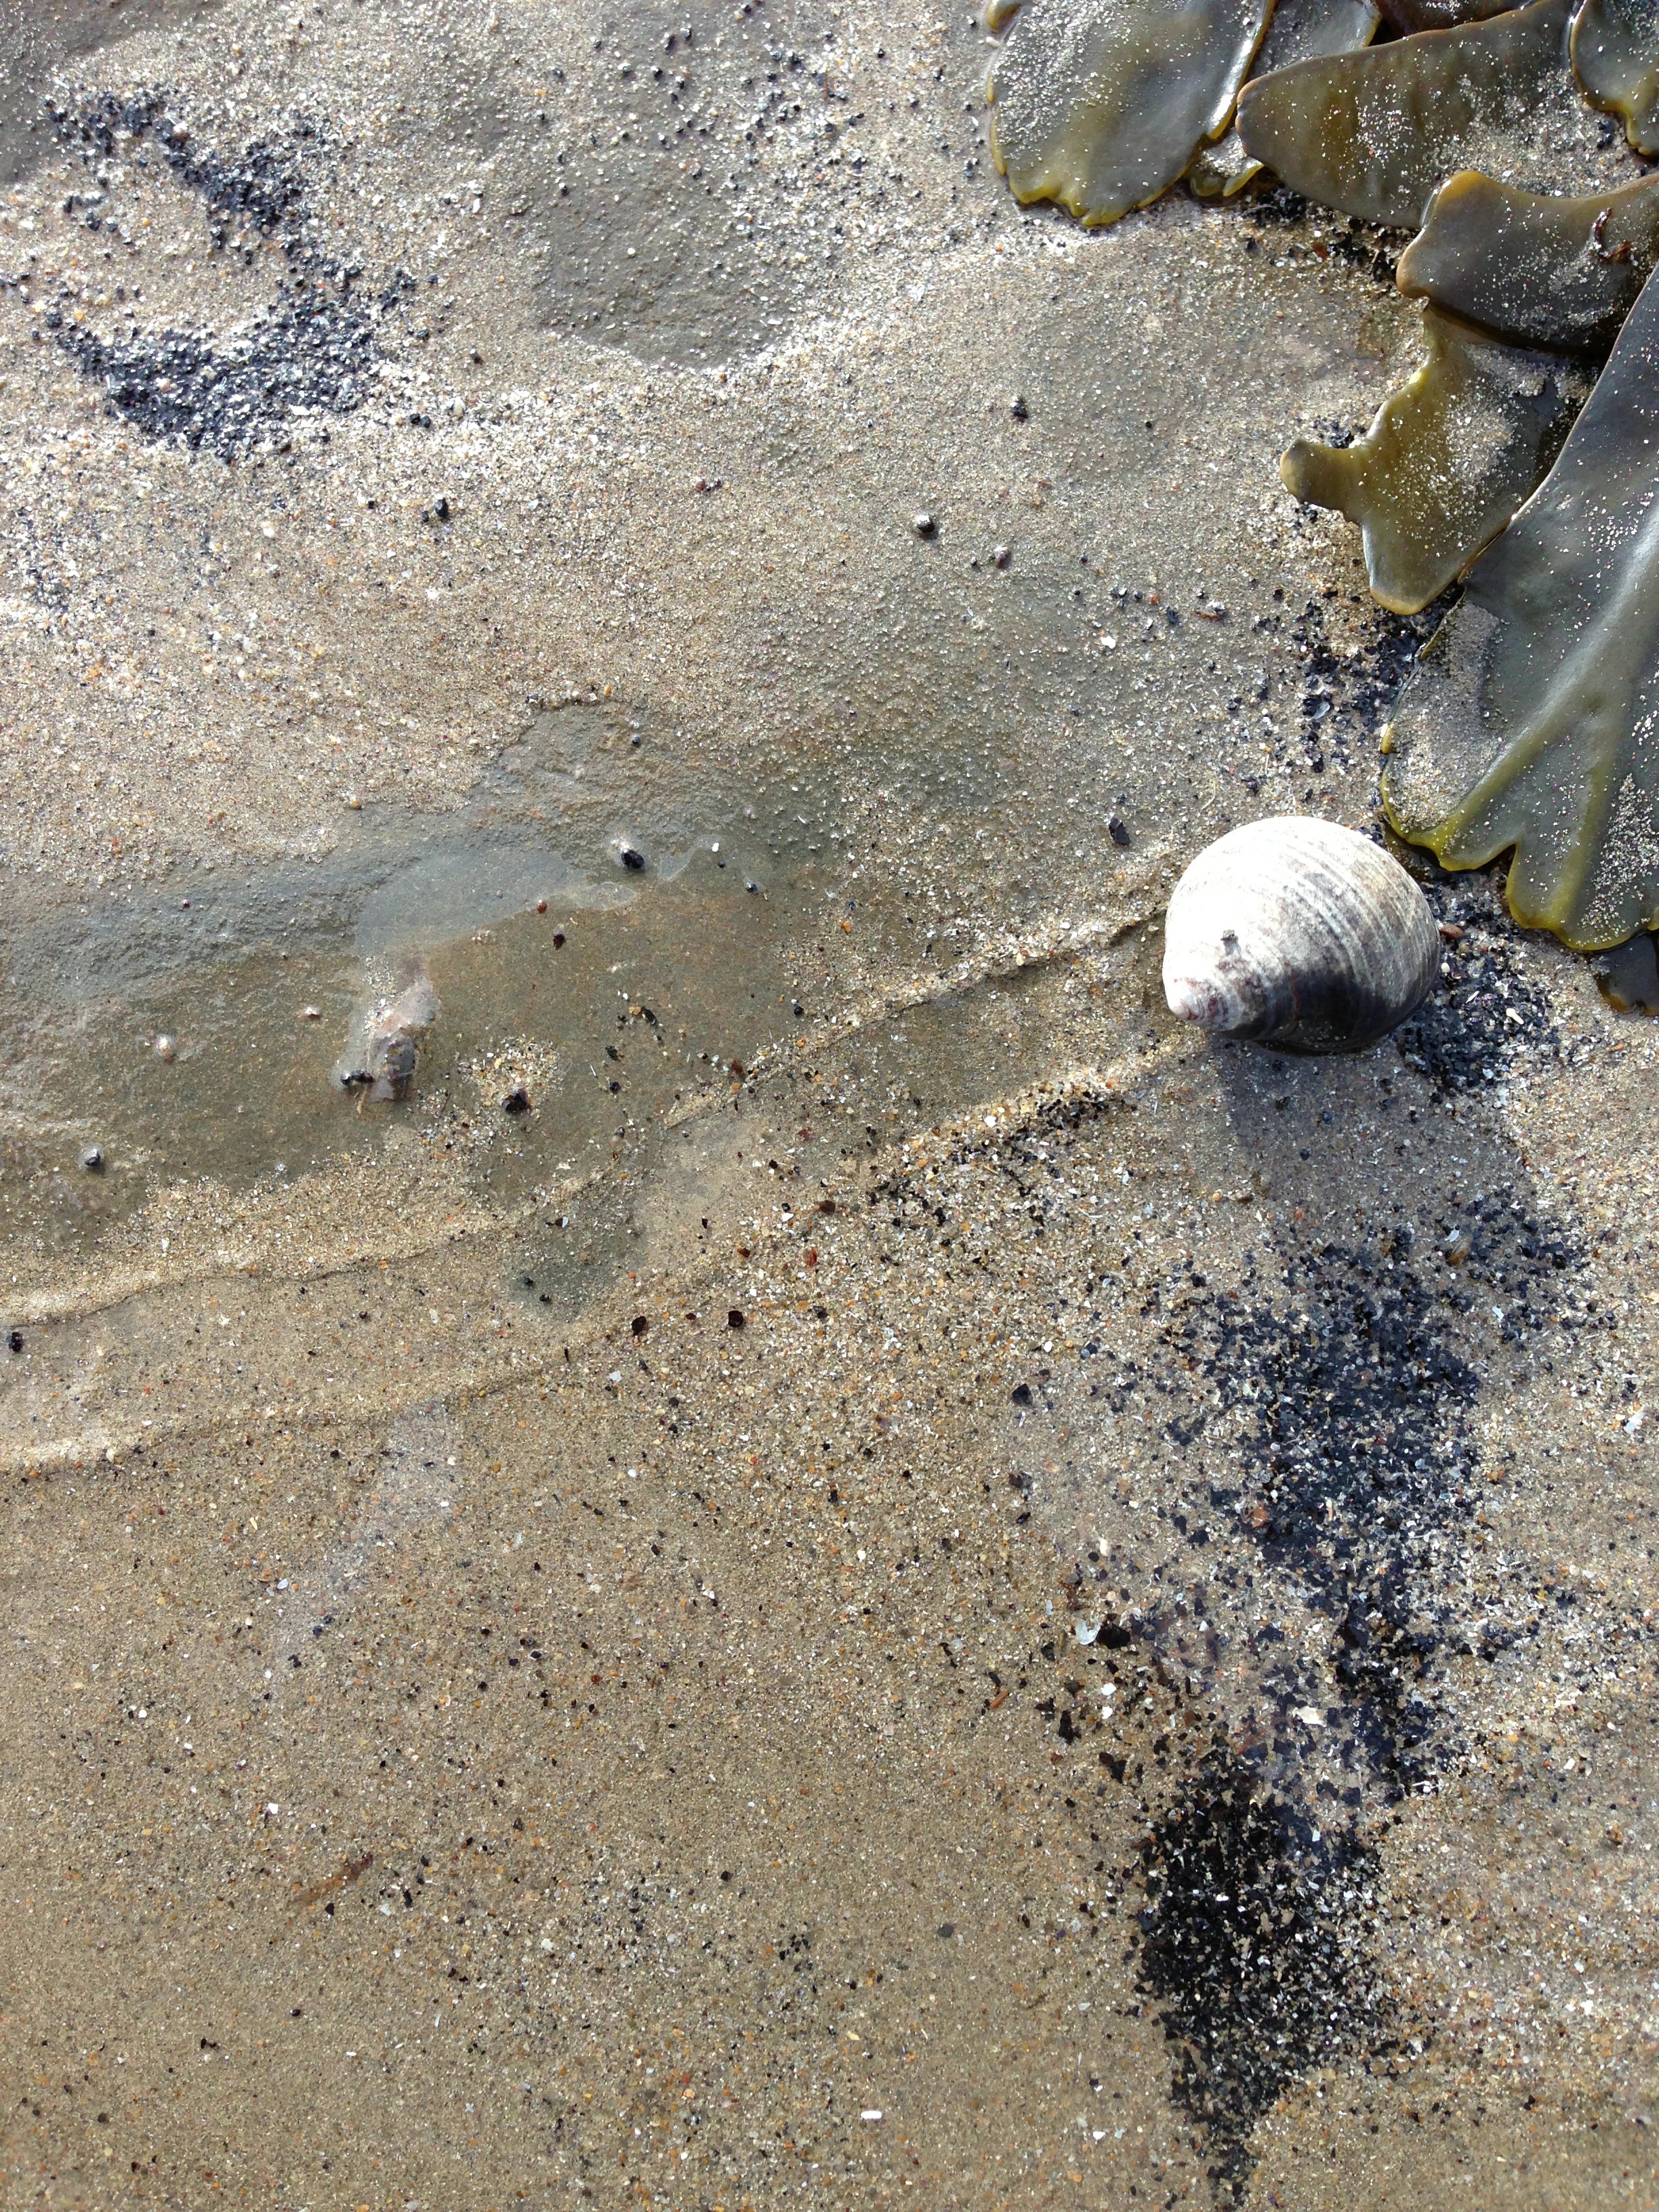
Winkles or Periwinkles.

These travel fast, and are not easy to catch! However, on a recent coastal foray I did manage to chase down one or two. As with seaweed, these gastropods are often overlooked, but they’re delicious, with or without accompaniment, and well worth the small amount of time it takes to remove them from their shells. You can find winkles all along the coasts of Britain, on rocks and mudflats where they feed on seaweed. Though very common, they breed during the summer, so best not disturb them at this time.

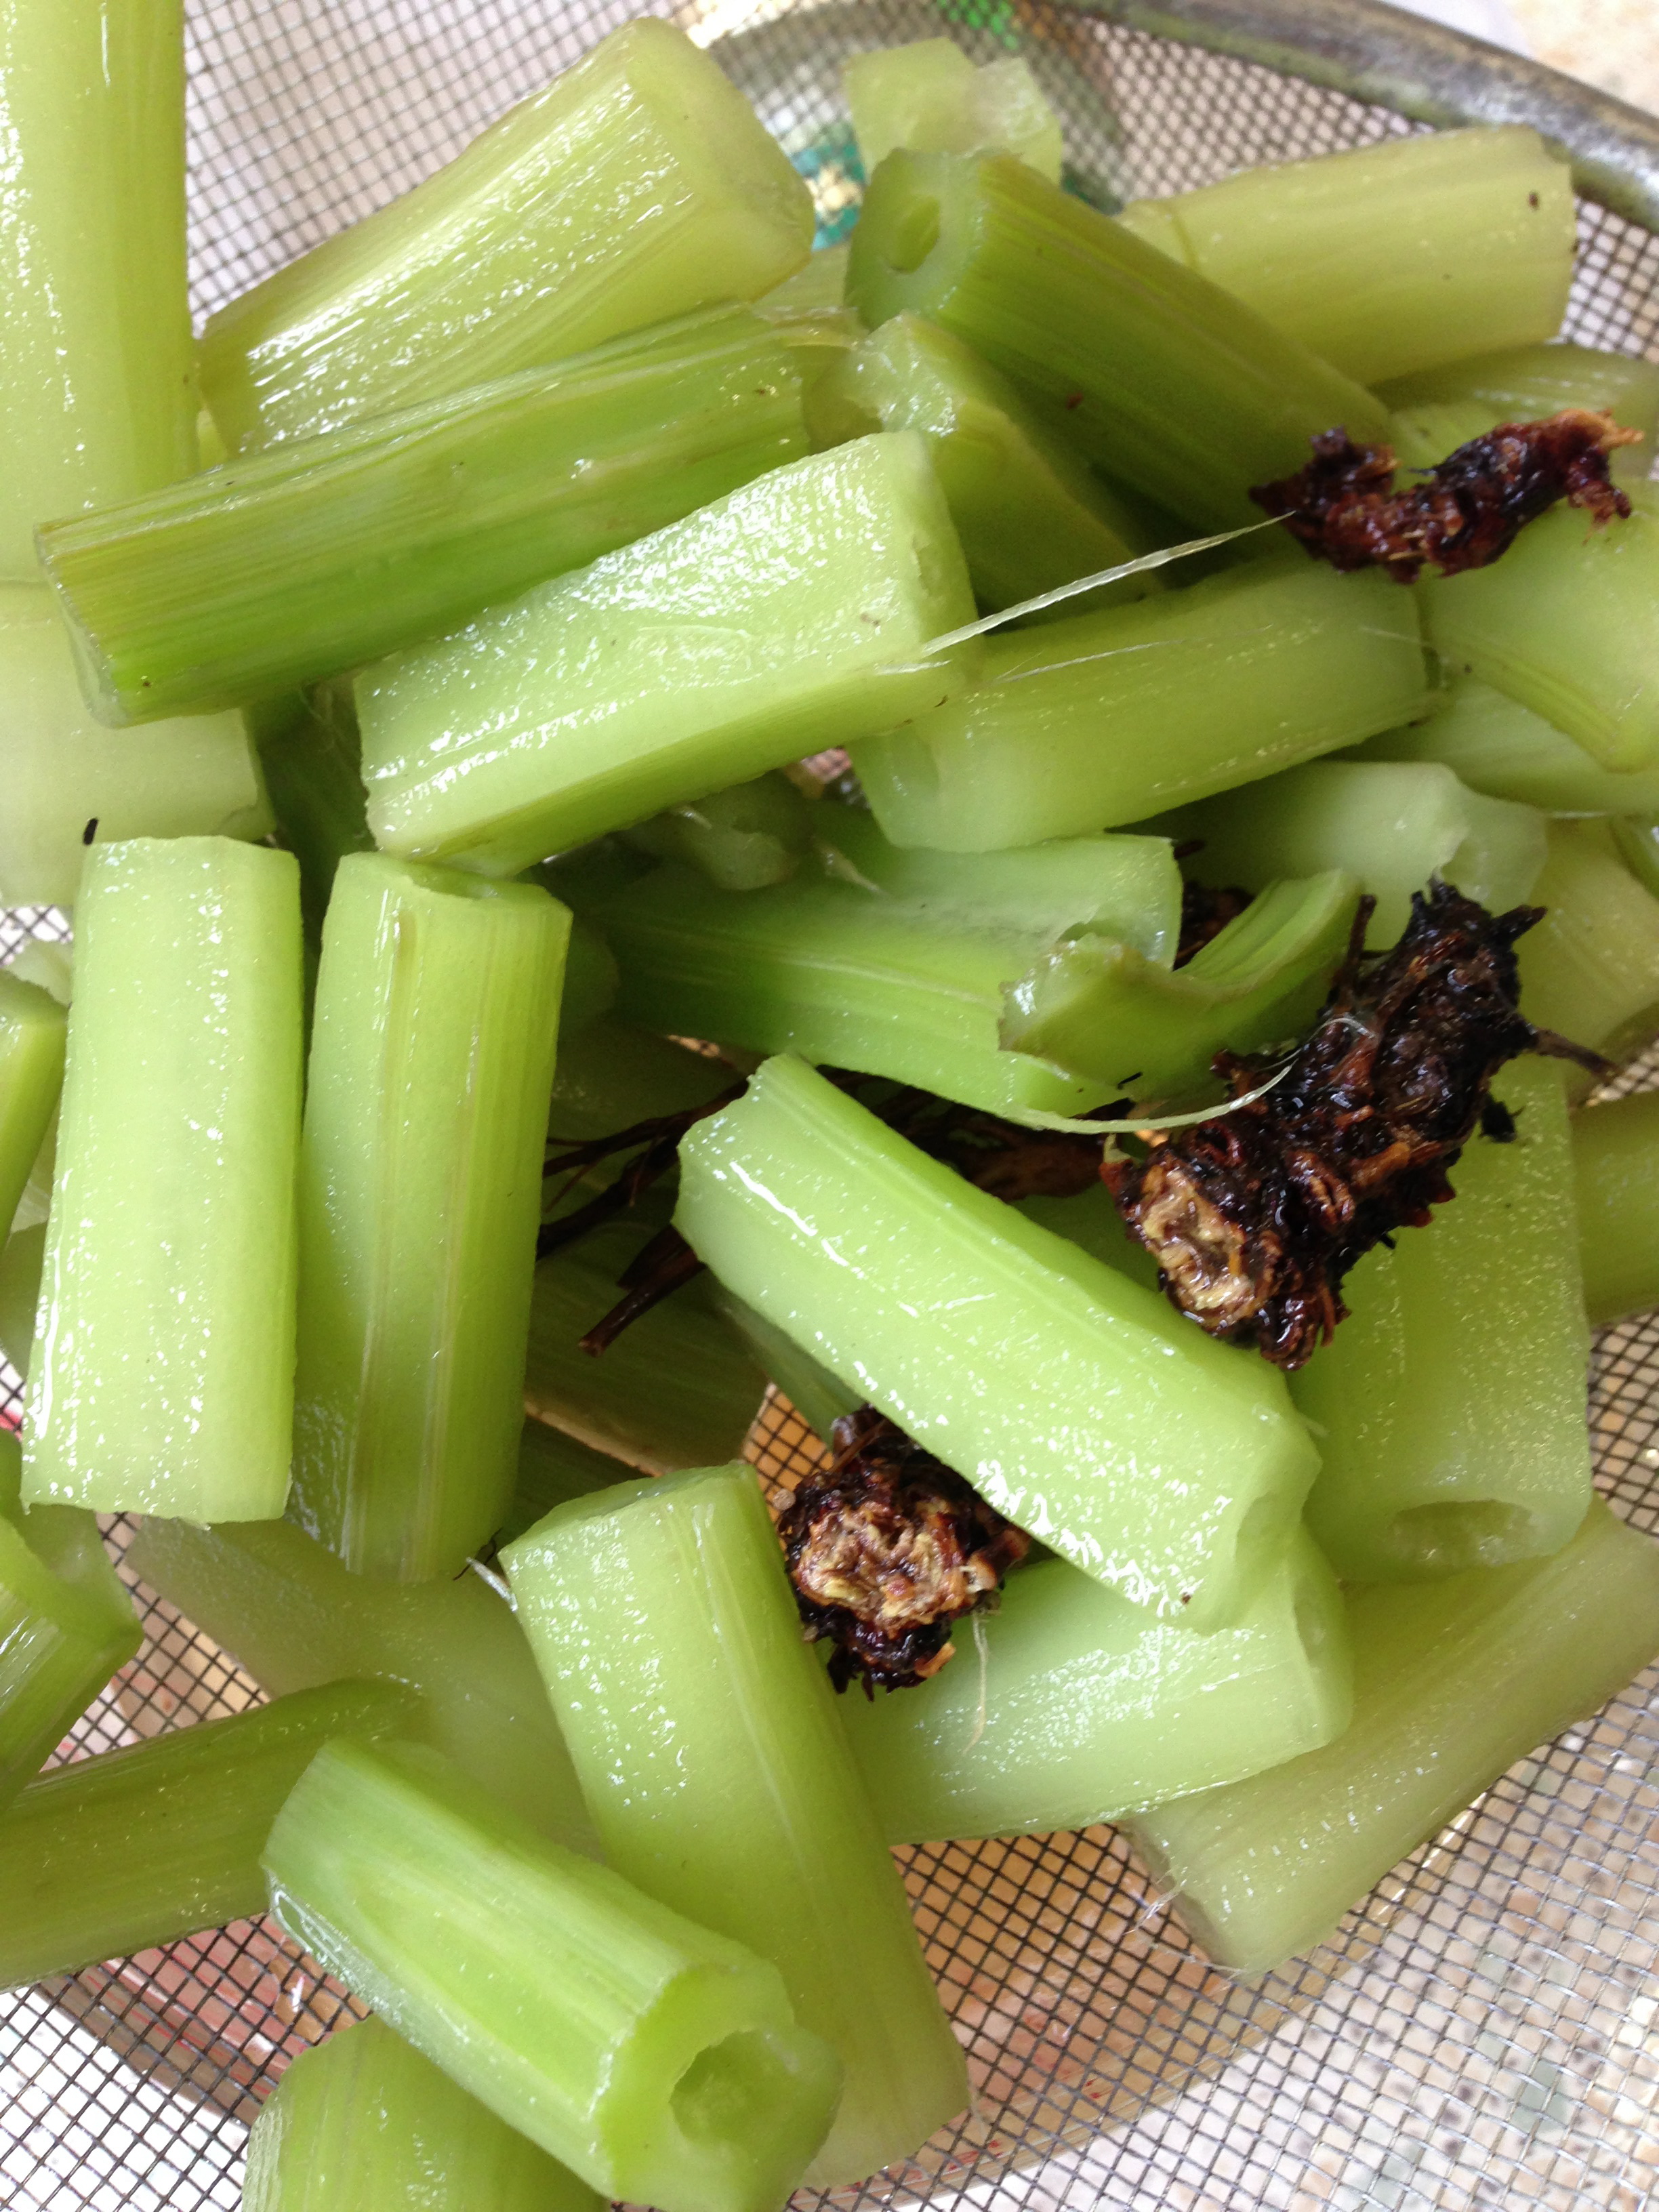
Winkles with crispy seaweed:

Rinse and soak the winkles in salted water half an hour before cooking.

Bring them to the boil in a pan and simmer for three or four minutes.Let them cool down a little. You will need something to remove them from their shells – I use a sewing needle – and discard the hard foot at the top end. People often dip them in malt vinegar, but I like them as they are, with just the saltwater they’re cooked in.

To make the crispy seaweed, first rinse it well to remove sand and other unwanted ingredients, and then dry it thoroughly. To cook, heat oil approximately 5cm deep in a heavy-based saucepan. Fry in batches and cook for five to six seconds – Gutweed pops and explodes when deep fried, so stand well clear!

Remove and place on kitchen paper to drain.

You can then add a pinch of sugar and maybe a little sesame oil or toasted sesame seeds if you like. Delicious.

This works well as a side dish, or as a condiment to sprinkle on fish or a stir-fry.

Seaweeds are packed full of goodness – they contain protein, carbohydrate, iron, iodine, and antioxidants. They taste great in stir fries, risottos and soups, or you can dry them and add to various dishes, so why not give some of these scrumptious seashore treats a try?

In another post I’ll tell you about a few more of my favourite seashore pickings. The highly versatile Sea Spinach will definitely be one of them.


A few good books I recommend are:


Wild Food by Roger Phillips


http://www.amazon.co.uk


Eat the Beach by Fraser Christian


http://www.wildforage.co.uk/


Edible Seashore by John Wright


http://www.wild-food.net/book/8/Seashore


Noodling

IMG_2949


My friend Jack’s noodle frittata with duck eggs, wild onion, three cornered garlic and scurvy grass. Delicious it was too. Jack has his own ducks. I think these were Jemima’s eggs but I could be wrong there. Can anyone tell me what the garnish is?